Within the settings of the InvoiceOcean system, you can use the option to add categories. You can assign categories to the clients, products, as well as revenues and expenses added by you.
Adding categories will allow you to organize data in the system according to predefined criteria. This can be helpful when, for example, you want to search for people only from a specific country from your entire list of clients. Or in the case of products, you can divide them into those available only in-store and those available only online. Categorizing data in the system will help you narrow down information according to filters you set in the future. This will also allow you to generate reports and charts broken down by categories.
The option to add categories is available for every subscription plan offered in InvoiceOcean.
How to add categories?
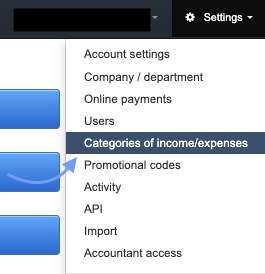
You can add categories from the account settings by selecting Settings > Categories.
A window will appear where you can add categories using the New button. If you have previously added categories, you will see a list of all previously created categories.

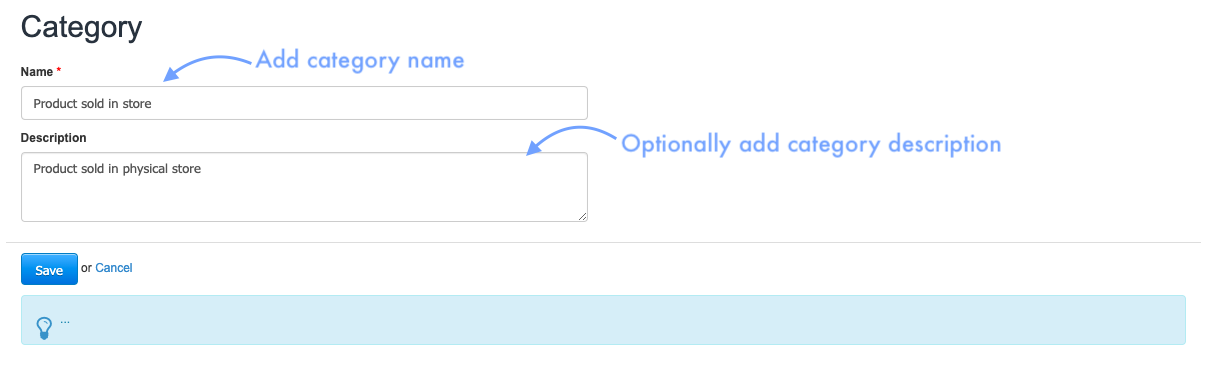
After clicking the New button, you will see a category addition form. Enter its name in the Name field. Optionally, you can add a description, which will complement the main name. However, it will not be visible on any document.
The categories will be displayed as a list. From this point, added categories can also be edited or deleted by using the gear icon on the right side. Upon clicking it, options to Show, Edit, and Delete will appear.

Attention: The invoice category takes priority! This means that only if no category is assigned to a particular invoice, then the categories from the products on that invoice will be taken into account.
Filtering invoices by category
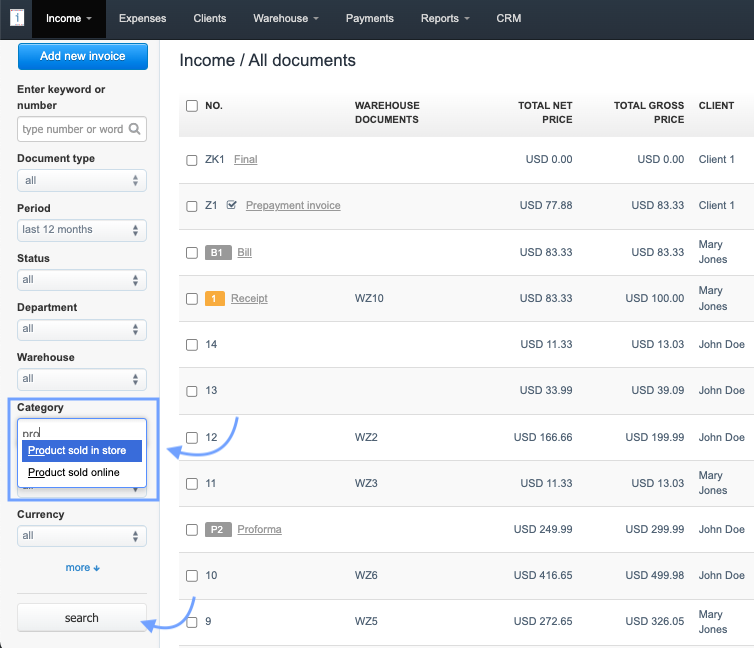
In the system, there is an option available to filter documents according to their assigned category. To filter documents using this option, go to the document list through the Income tab > All or select a specific type of document. This option is also available next to the expenses side.
In the filtering panel, located on the left side, there is a Category column. By clicking on the field, the system will list all categories added within the account.
You can select necessary categories by clicking on their names. If you want to select more than one category, you need to click on the category field each time to display the list again.
By clicking on this field, you can also search for a category by typing its name. In this case, the system will suggest the most relevant options, which you can confirm by clicking on the category name.
After selecting the category, confirm the search by clicking the Search button. The system will display documents that have the selected categories assigned.
In separate articles, we detail how to assign categories to clients, products, incomes, and expenses:
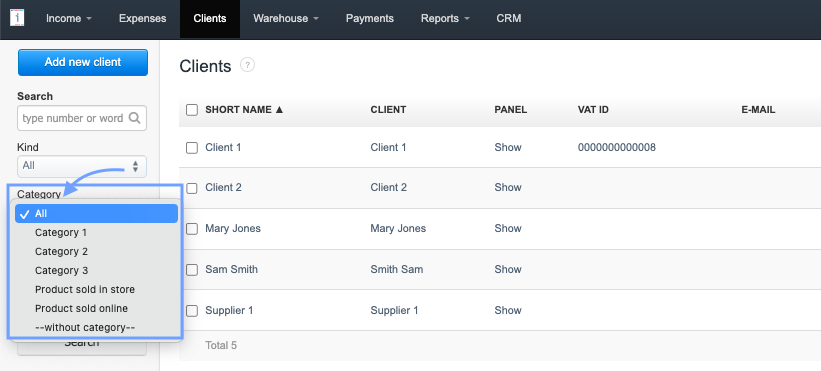
- How to add a category to a client.
- How to add a category to a product and group them.
- How to add categories to incomes and expenses.
Also, check: How to find older/archived invoices on the account?