To use the document for either purpose, first select the Corrective Invoice document type in the Additional documents to issue section:
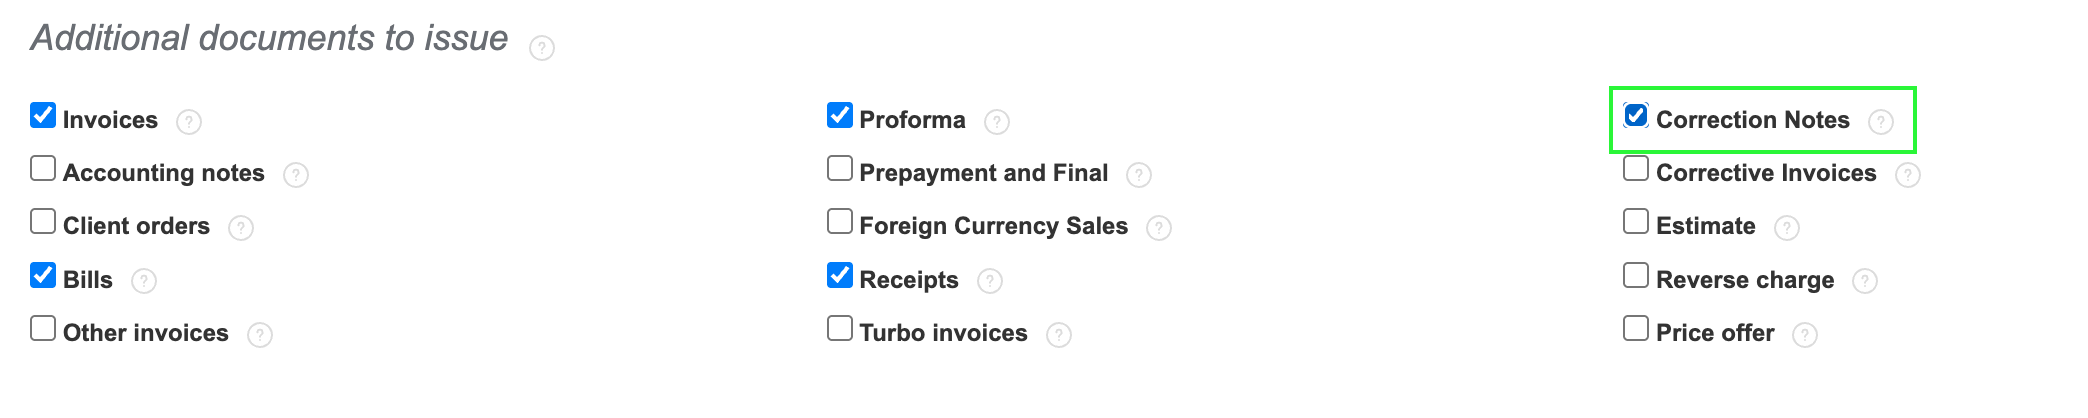
Then:
- Go to Account > Account settings > Print settings > Custom document names,
- change the document name to the corresponding name you want to use, such as Credit Note or Debit Note:
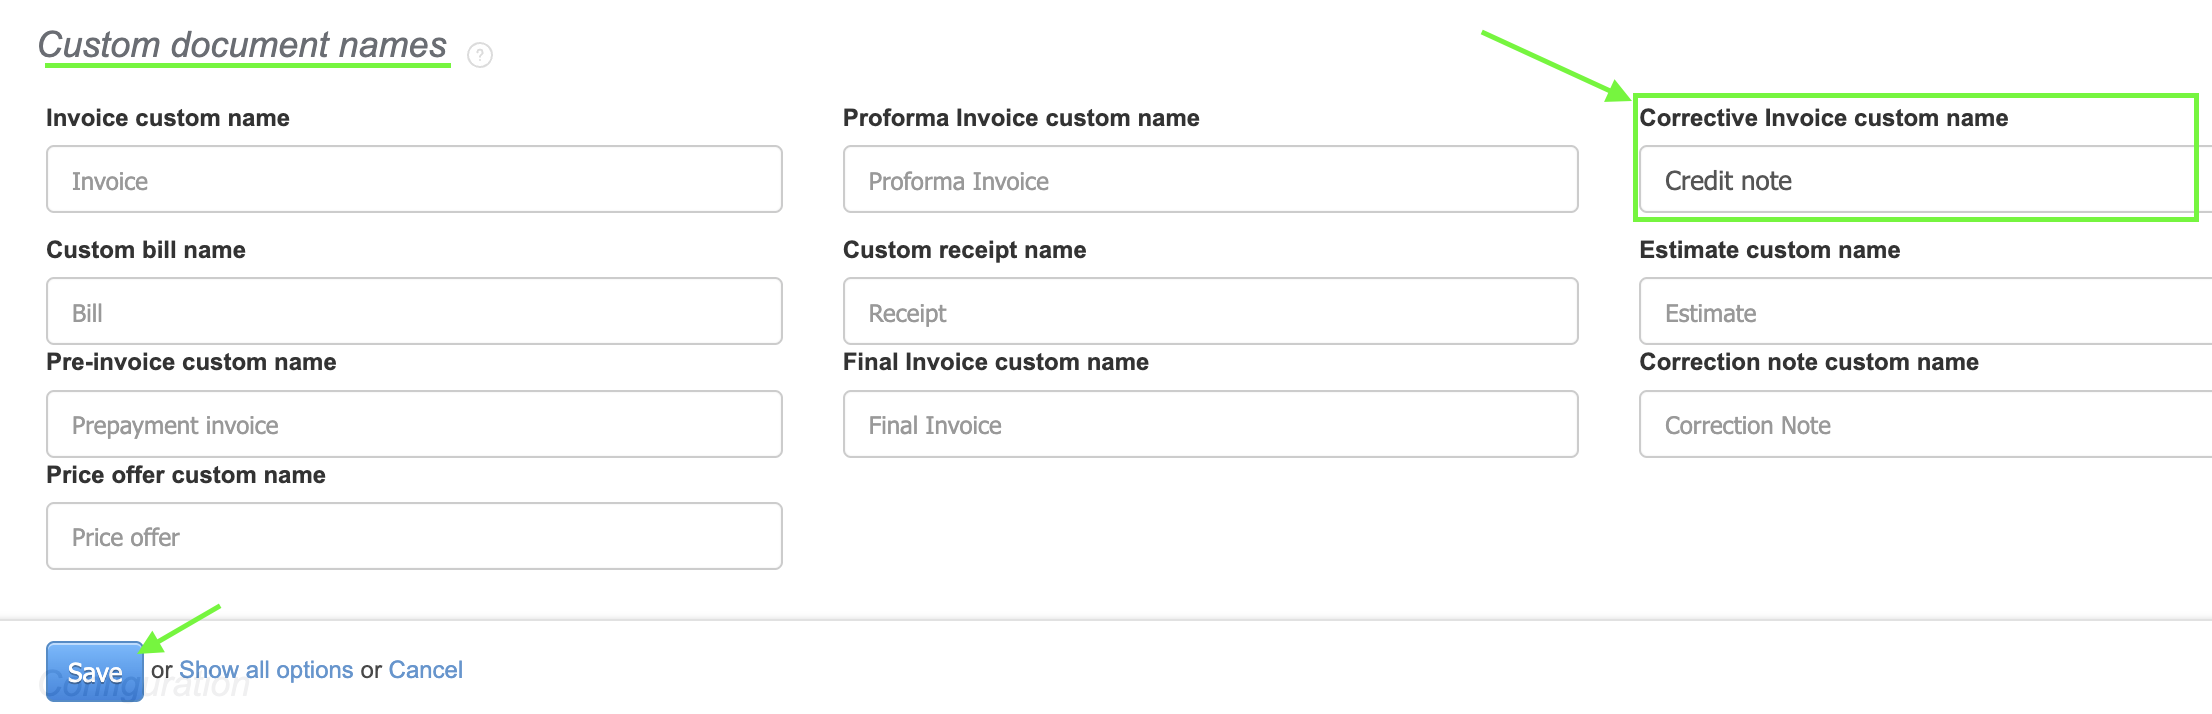
- Once the customized name has been changed, you can use the Corrective Invoice document to create the appropriate document for correcting the original invoice.
The invoice correction is created with Credit Note
Credit Note is an accounting document, which is issued by a seller in strictly defined situations, such as reduction or increase of the tax base, return of goods or granting a discount.
Invoices in InvoiceOcean can be issued in two ways.
Method 1.
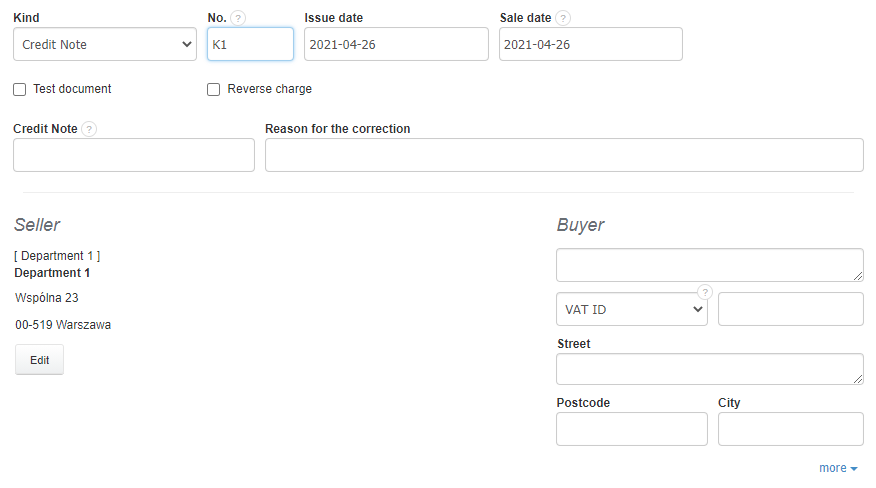
To create a Credit Note, go to Income> Credit Note> Add new. Then complete the fields in the form.
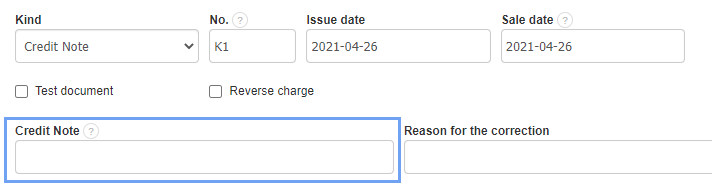
When issuing the correction, you have the option to fill the field “Credit Note”.
In this field, enter the number and date of the invoice to be corrected. If the correction relates to the invoice, which is already in the system, start typing a number or date and the system will autofill the remaining invoice data.
Method 2.
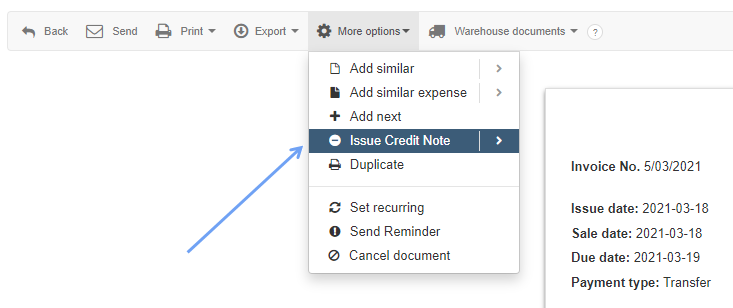
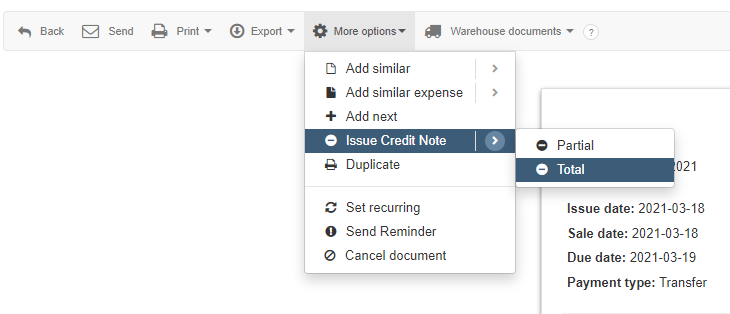
You can also issue a Credit Note via the panel of the document that you want to correct. Choose from issued invoices, the one to which you want to issue a Credit Note by selecting Income> Invoice, then click the invoice you want to correct using the Credit Note. The program will redirect you to the document panel. From the panel over the issued invoice, select More options> Issue Credit Note.
At this point, you can choose between the option of total and partial correction.
The form that will be displayed after selecting the type of correction will be automatically completed, e.g. in the field “Credit Note” with the invoice number, and in the rest of the fields with other invoice data that you want to correct.
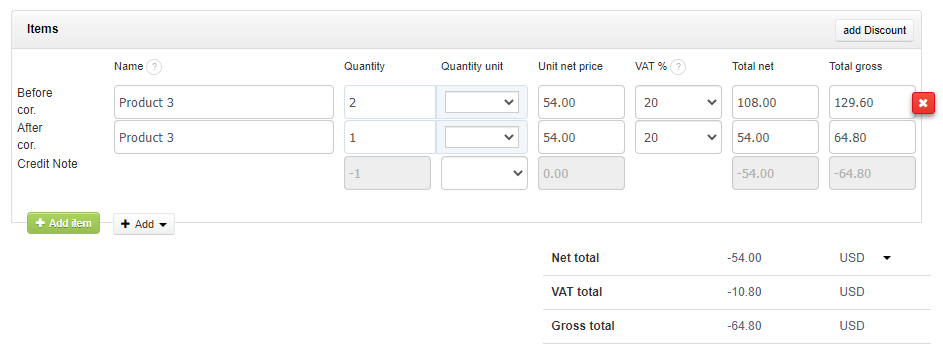
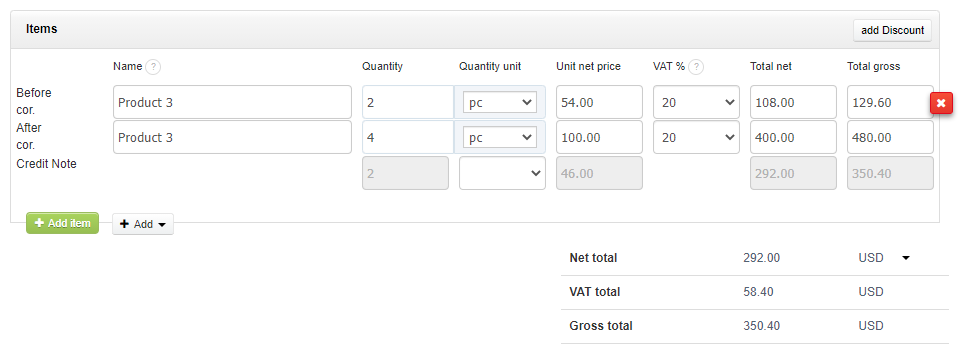
In the boxes for invoice items, you can make corrections to individual categories as price, quantity, etc. Gray fields show you the result of changes.
For example: If you change the net price of the product from $54.00 to $100.00, and double the number of pieces, the gray fields will show you the following image, i.e. the difference in individual boxes between the invoice before the correction, and the invoice after correction.
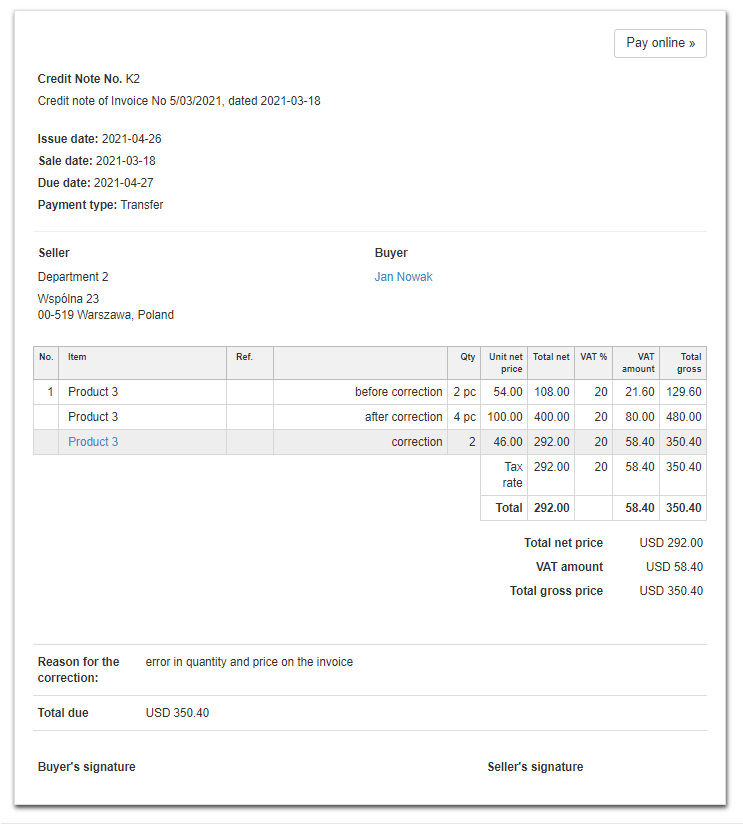
The finished Credit Note looks like this:
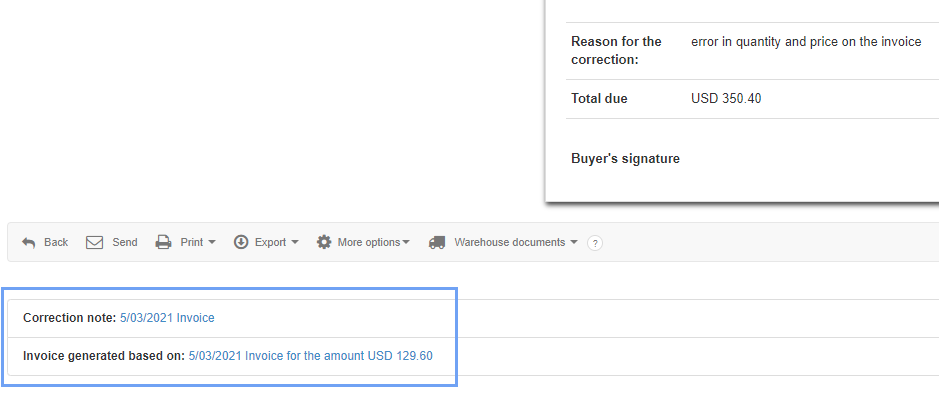
In addition, on the document panel below the view of the issued Credit Note, the details of the invoice that you have corrected are displayed - after clicking on them you can go to said invoice.