If you have the Bank Payments option activated, you can add payments directly to the invoice, both from the document level and through the Payments tab. This will establish the appropriate link between the document and the payment, and the invoice status will be automatically changed to paid or partially paid depending on the amount assigned to the document. Below you will find instructions on how to add a payment within your account, as well as which fields are included in the payment adding form.
How to activate bank payments?
To activate bank payments within your account:
1. Go to the Settings > Account Settings tab on your account;
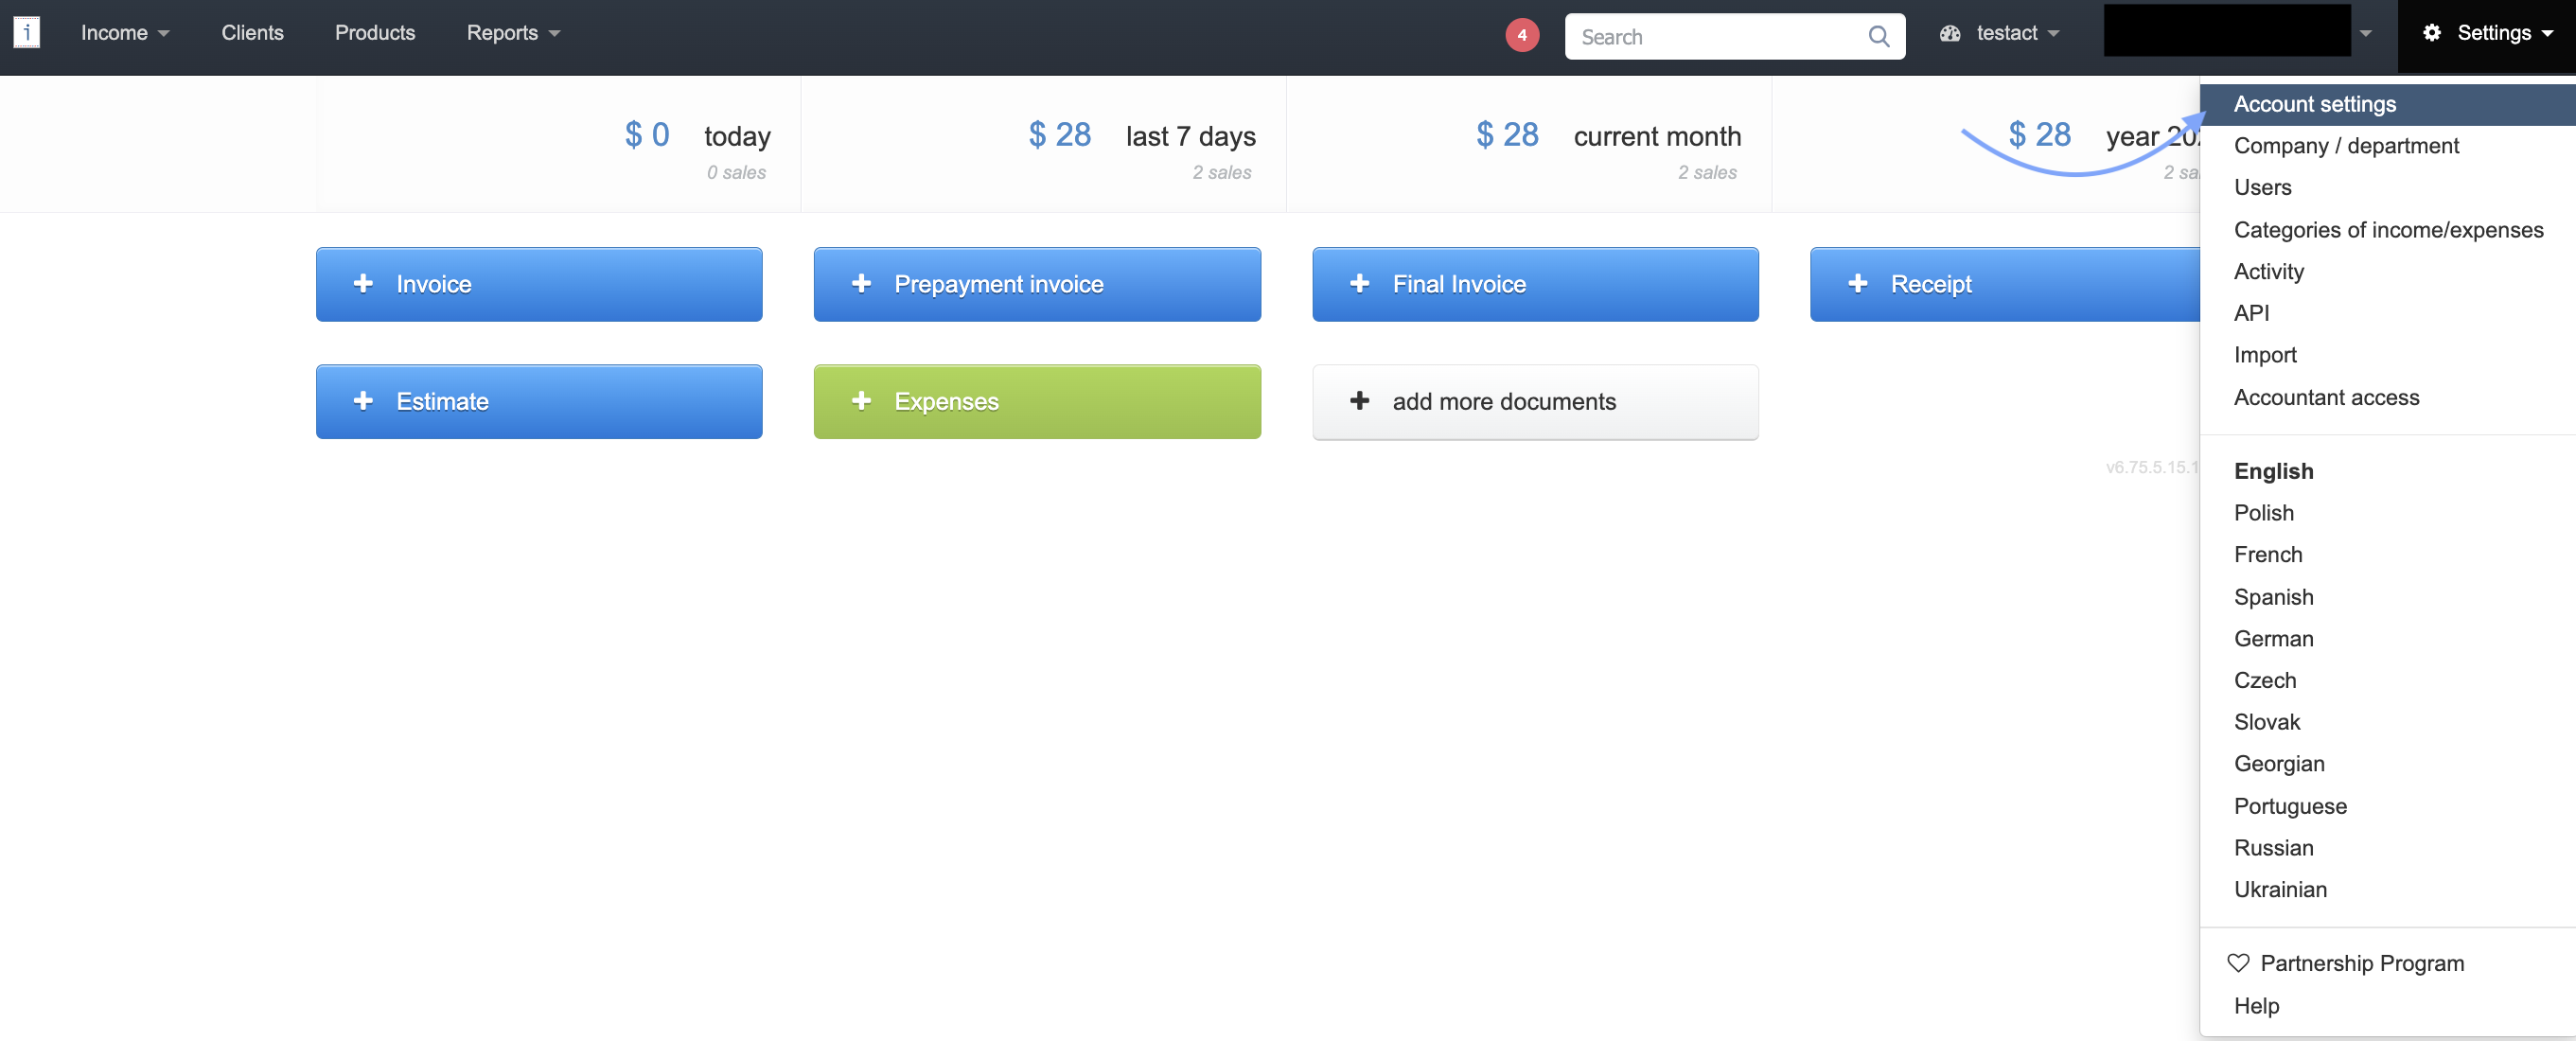
3. check the box next to the option Bank Payments.
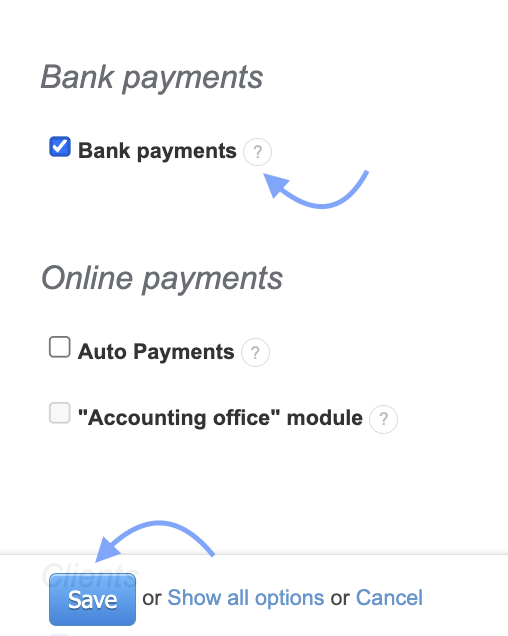
4. Confirm the changes by clicking Save at the bottom of the page.
Activating this option will make it possible to add payments from both the invoice preview and through the Payments tab.
How to add a payment to the invoice?
To add a payment directly to the invoice:
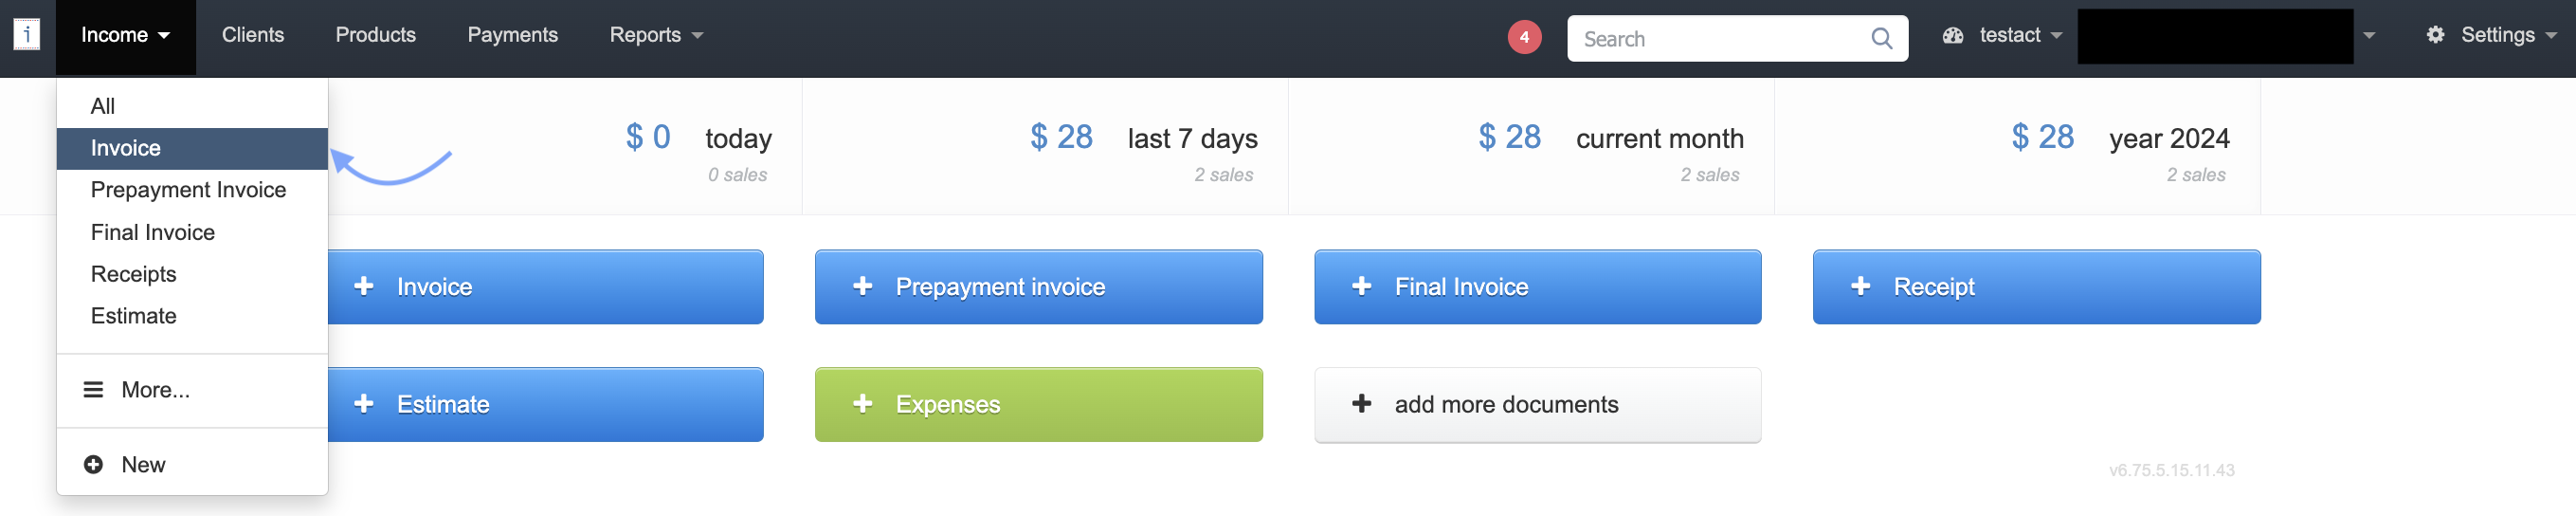
1. Go to the Income tab on your account and select the type of document from the list for which you want to assign the payment;
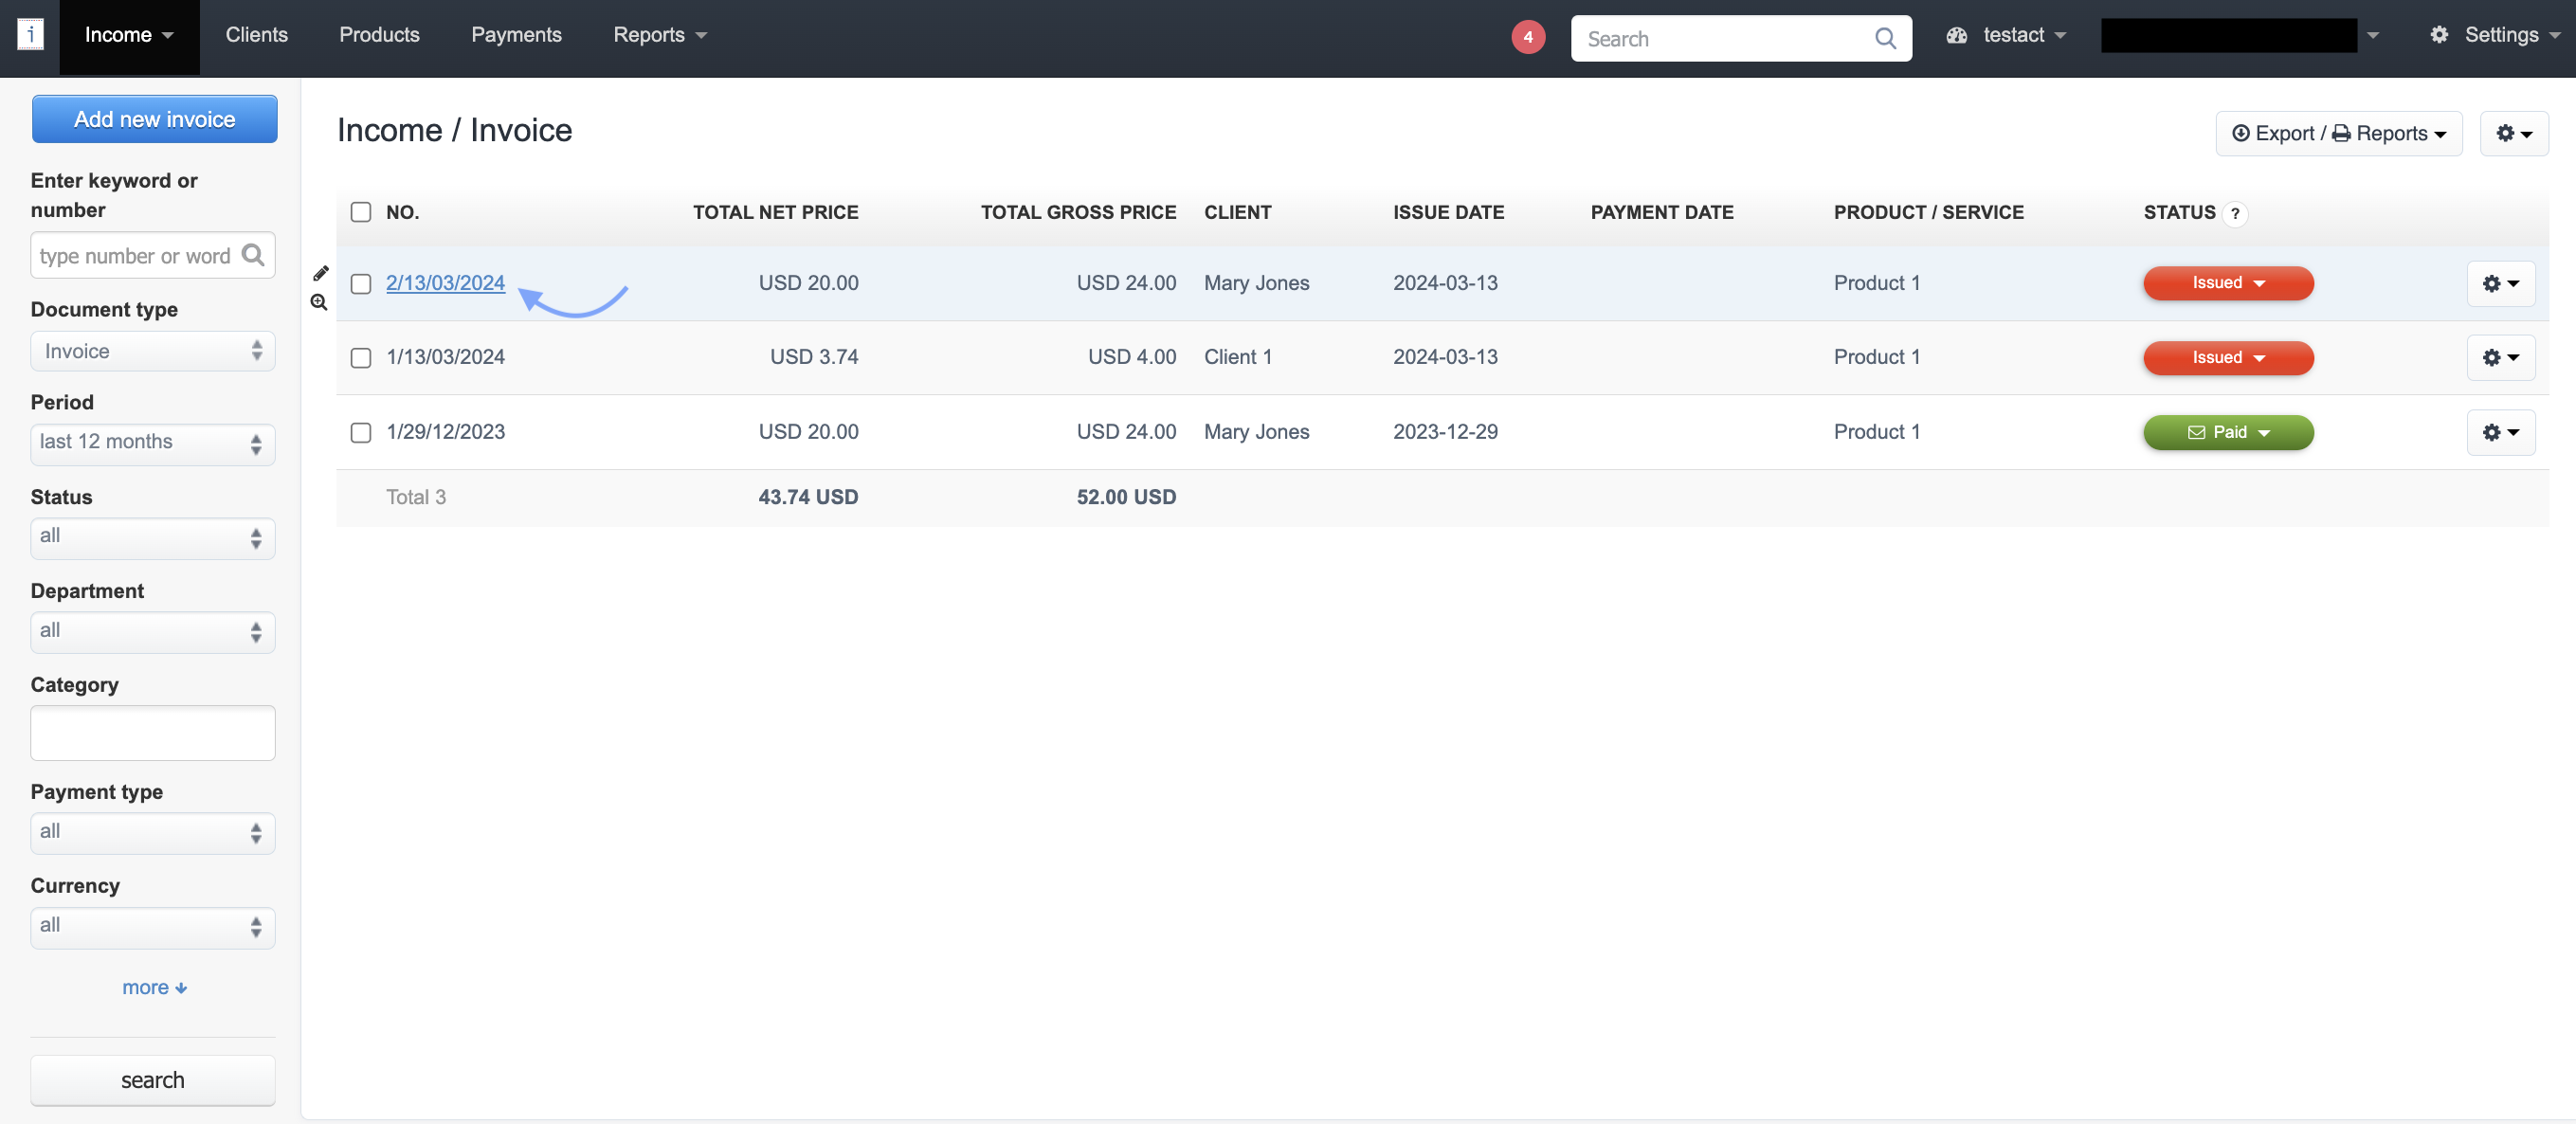
2. On the list of documents, click on the invoice number to access its preview;
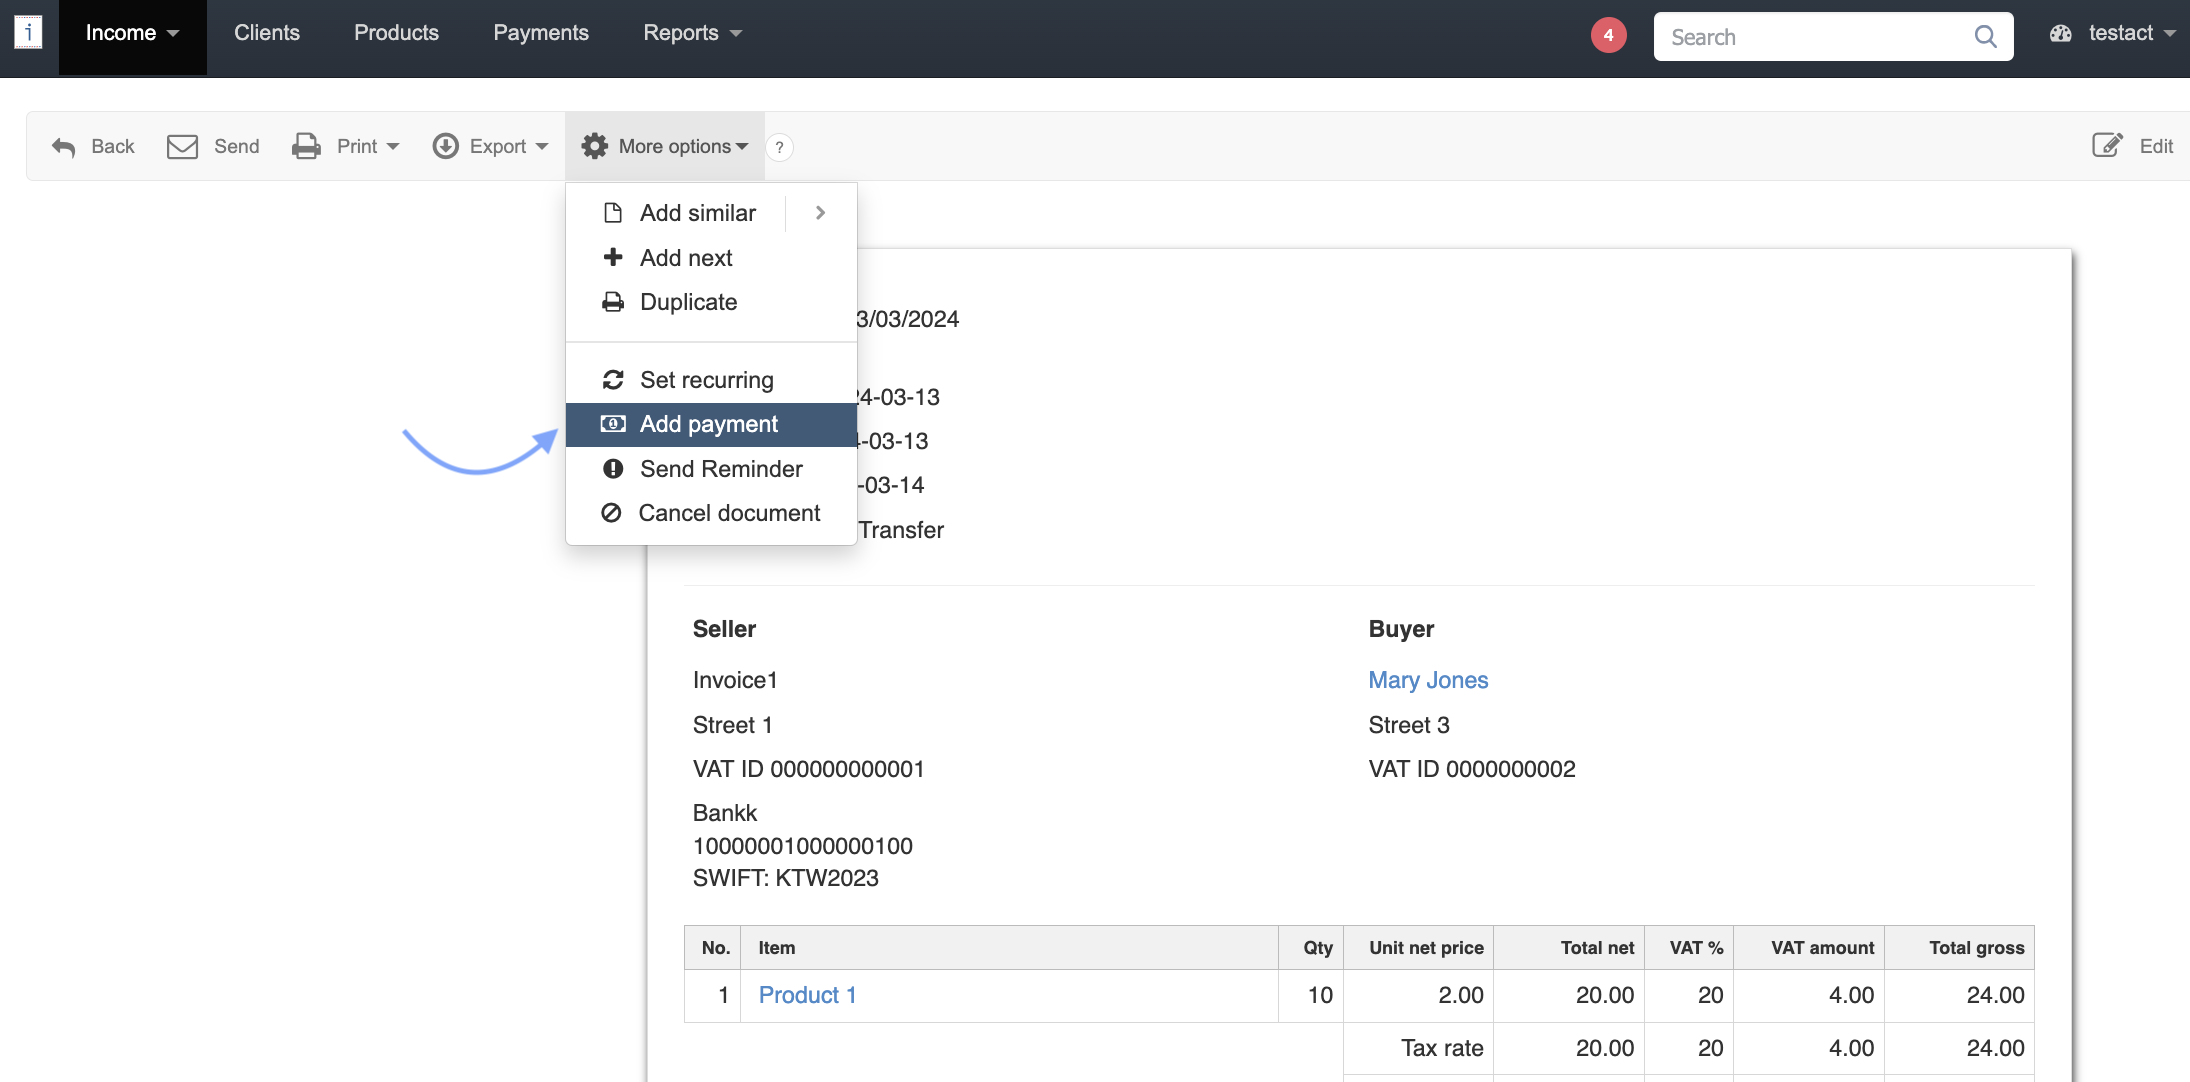
3. From the contextual menu above the document, select More options > Add payment;
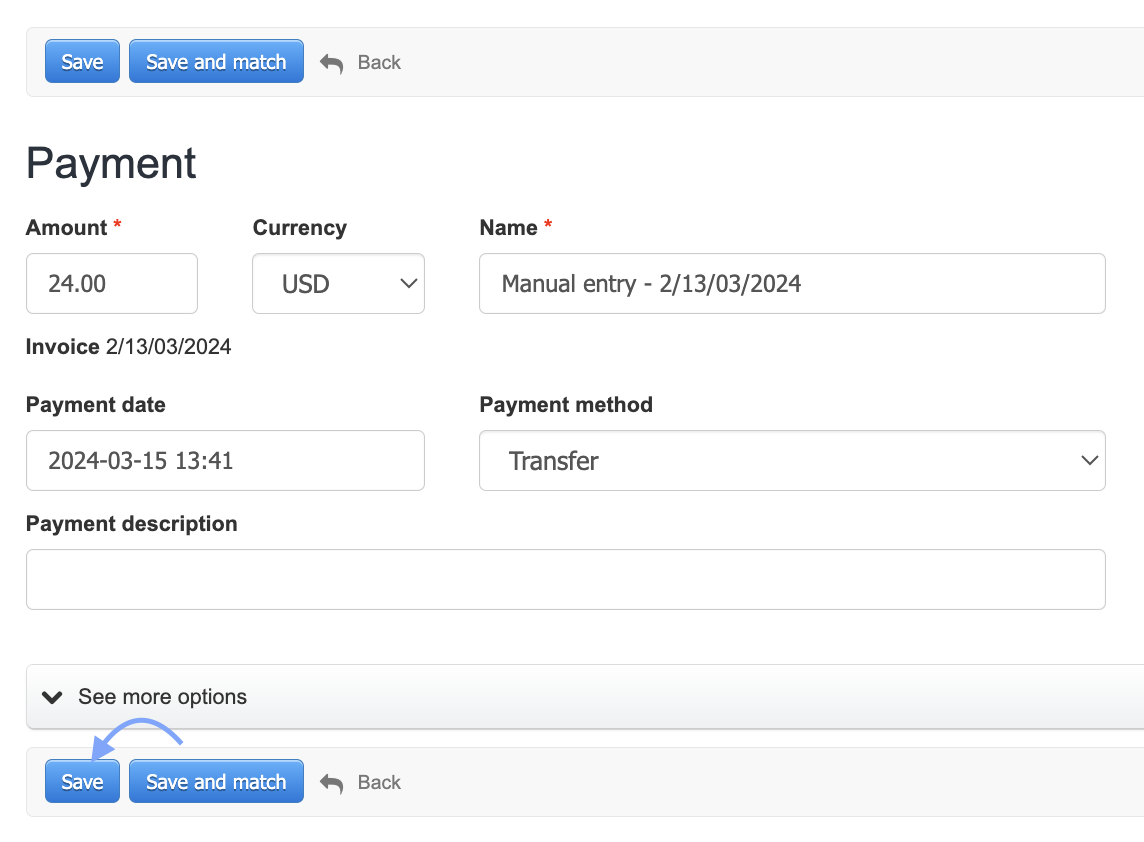
4. Verify the data in the form read from the document and confirm the addition of the payment by clicking the Save button.
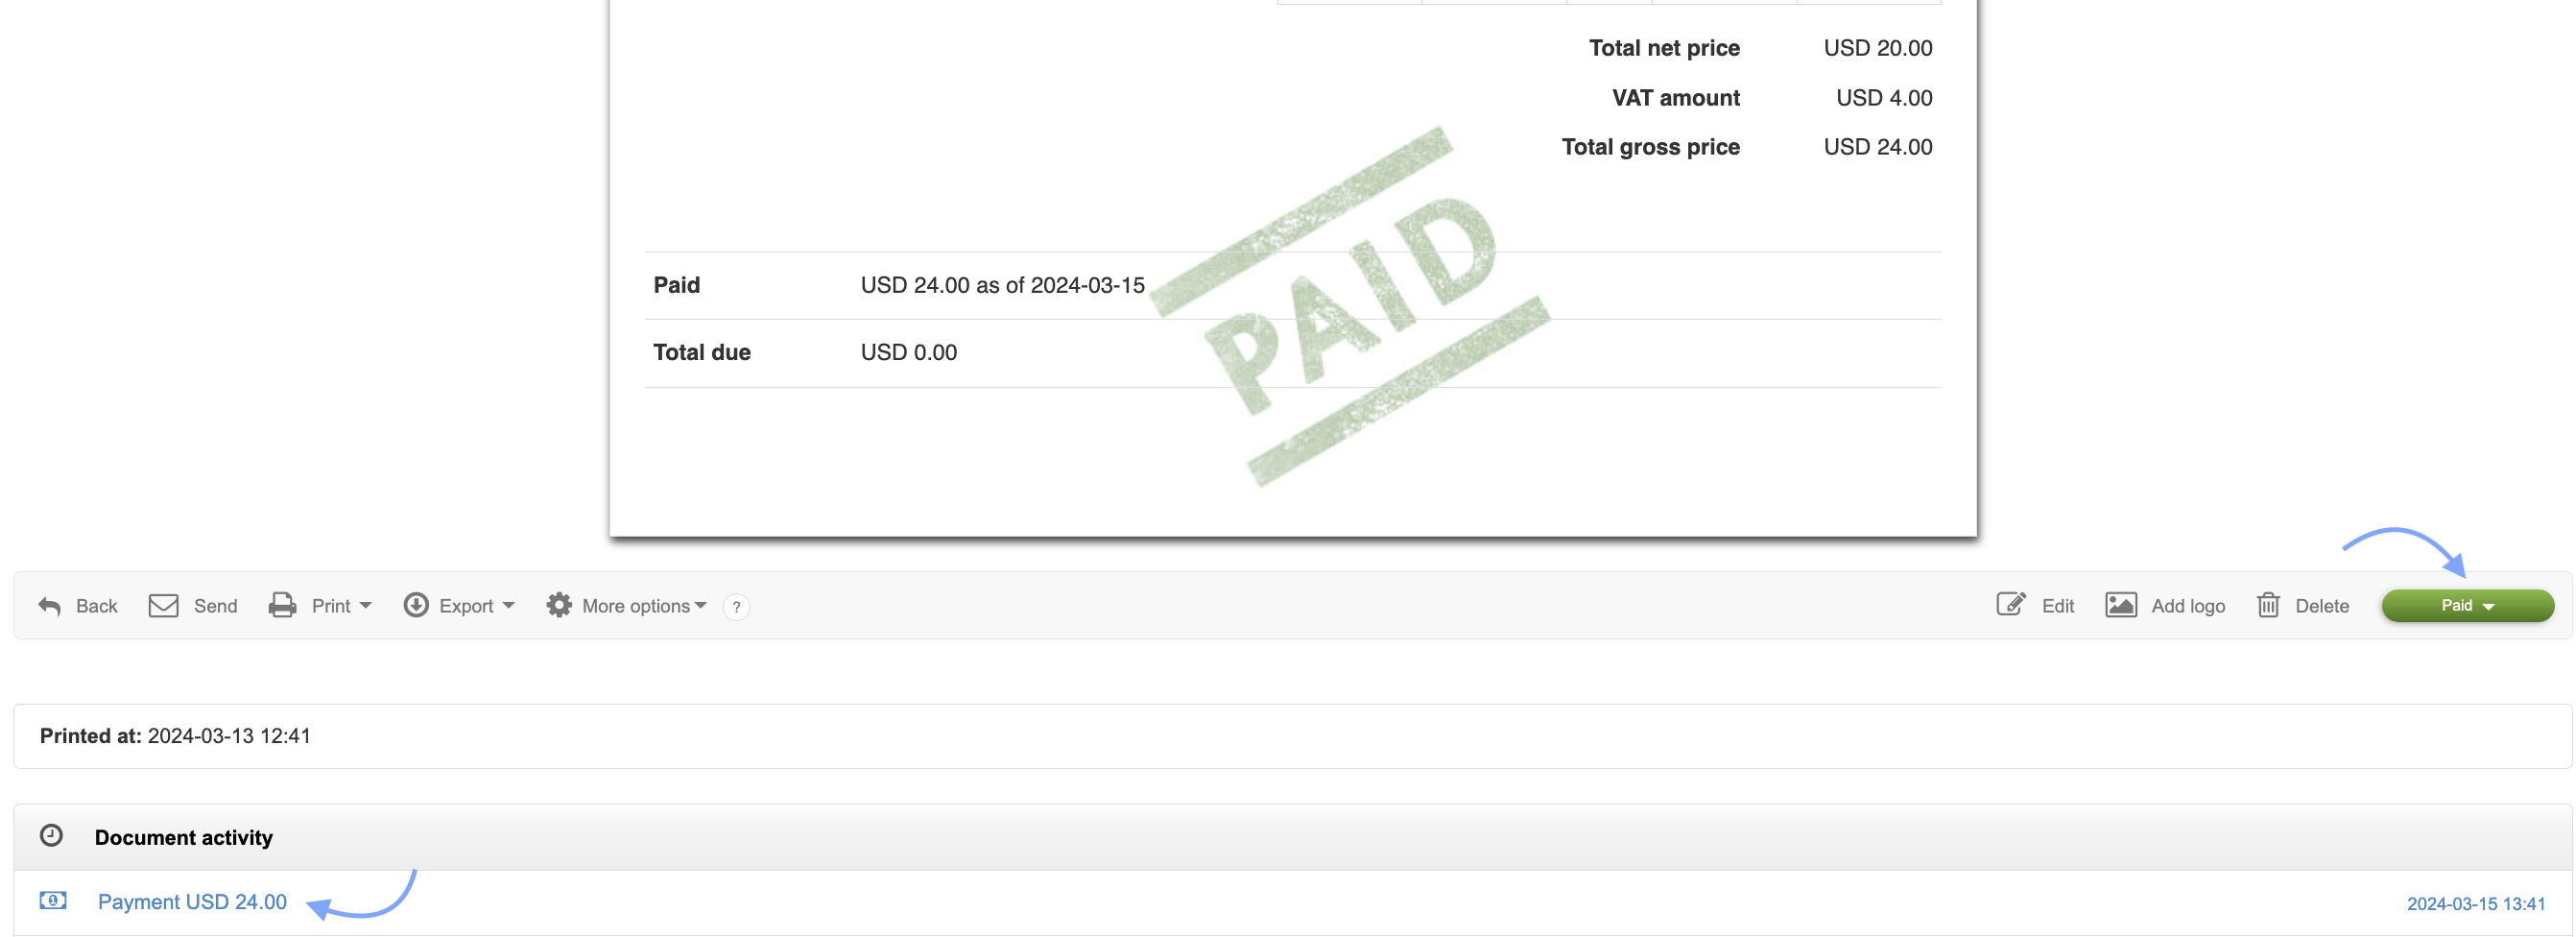
5. The invoice will be automatically marked as paid, and in the Document activity section, information about the associated payment will appear.
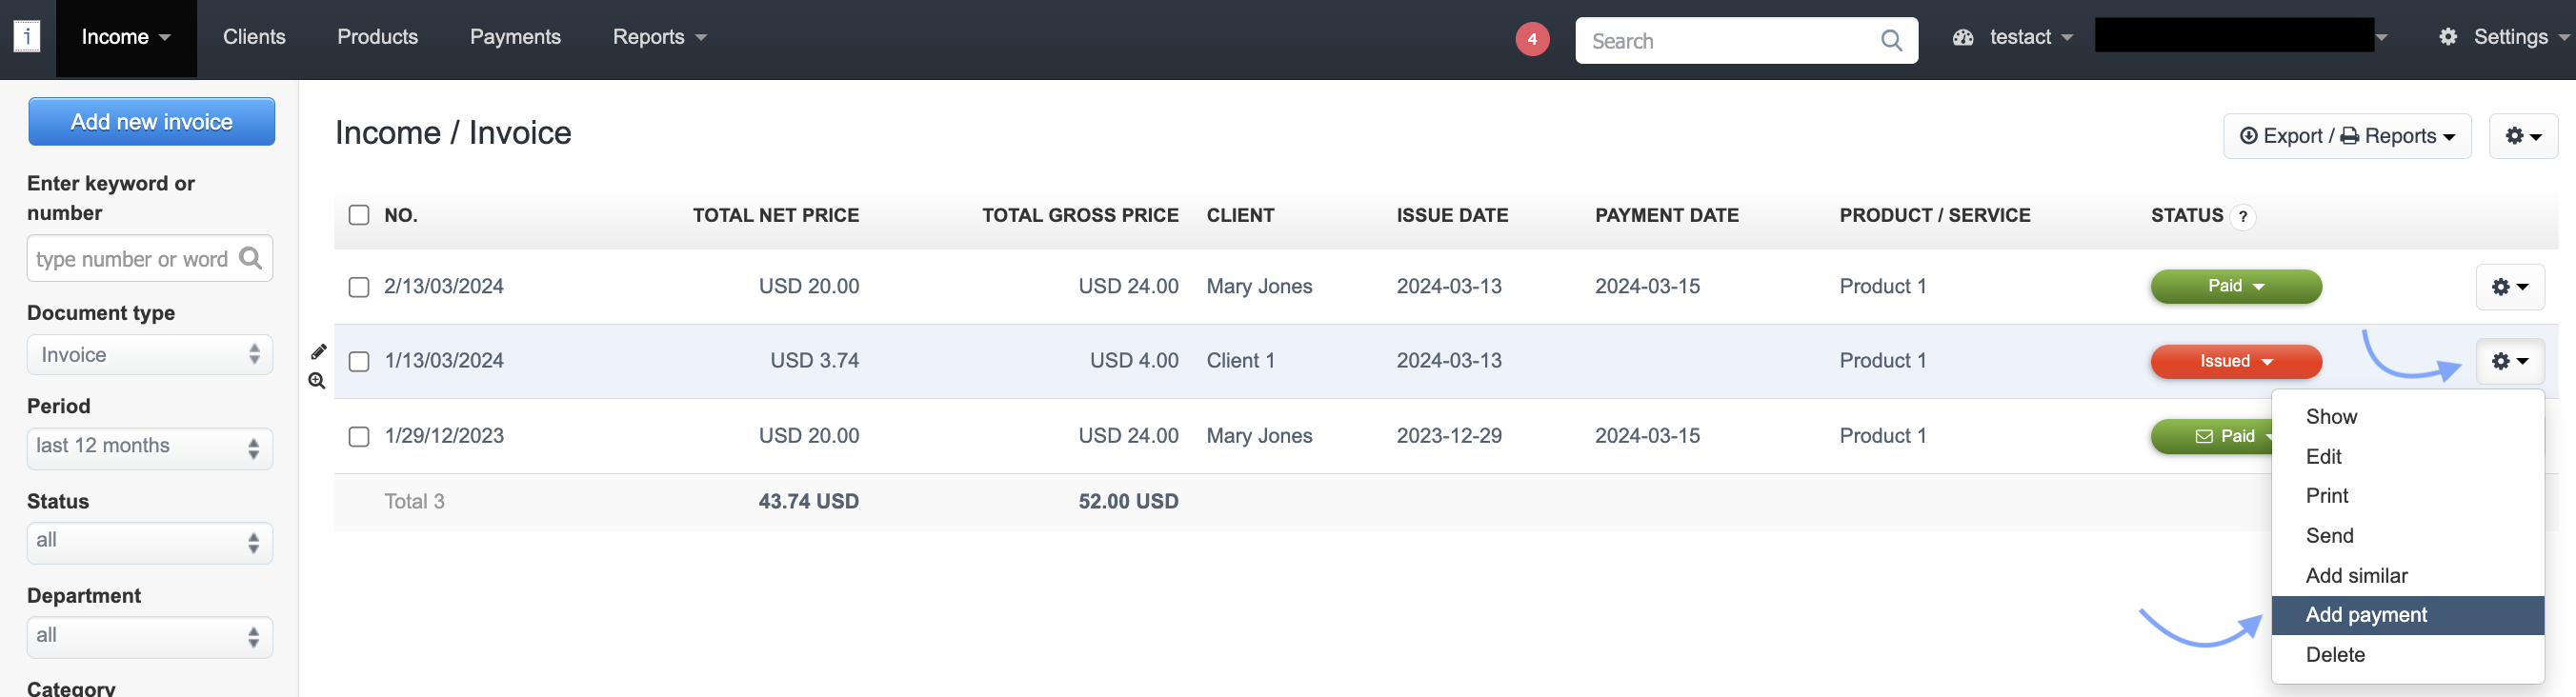
Quickly add payment from the invoice list
You can also add a payment to the invoice directly from the document list. Just go to the list of invoices and use the gear icon available on the right side next to the selected document. Among the displayed options, you will find Add payment, which will redirect you to the payment adding form.
How to add a payment from the Payments tab?
You can also add a payment to the invoice directly from the Payments tab.
To add a payment from the Payments tab:
1. Go to the Payments tab on your account;
2. Click the New payment button;
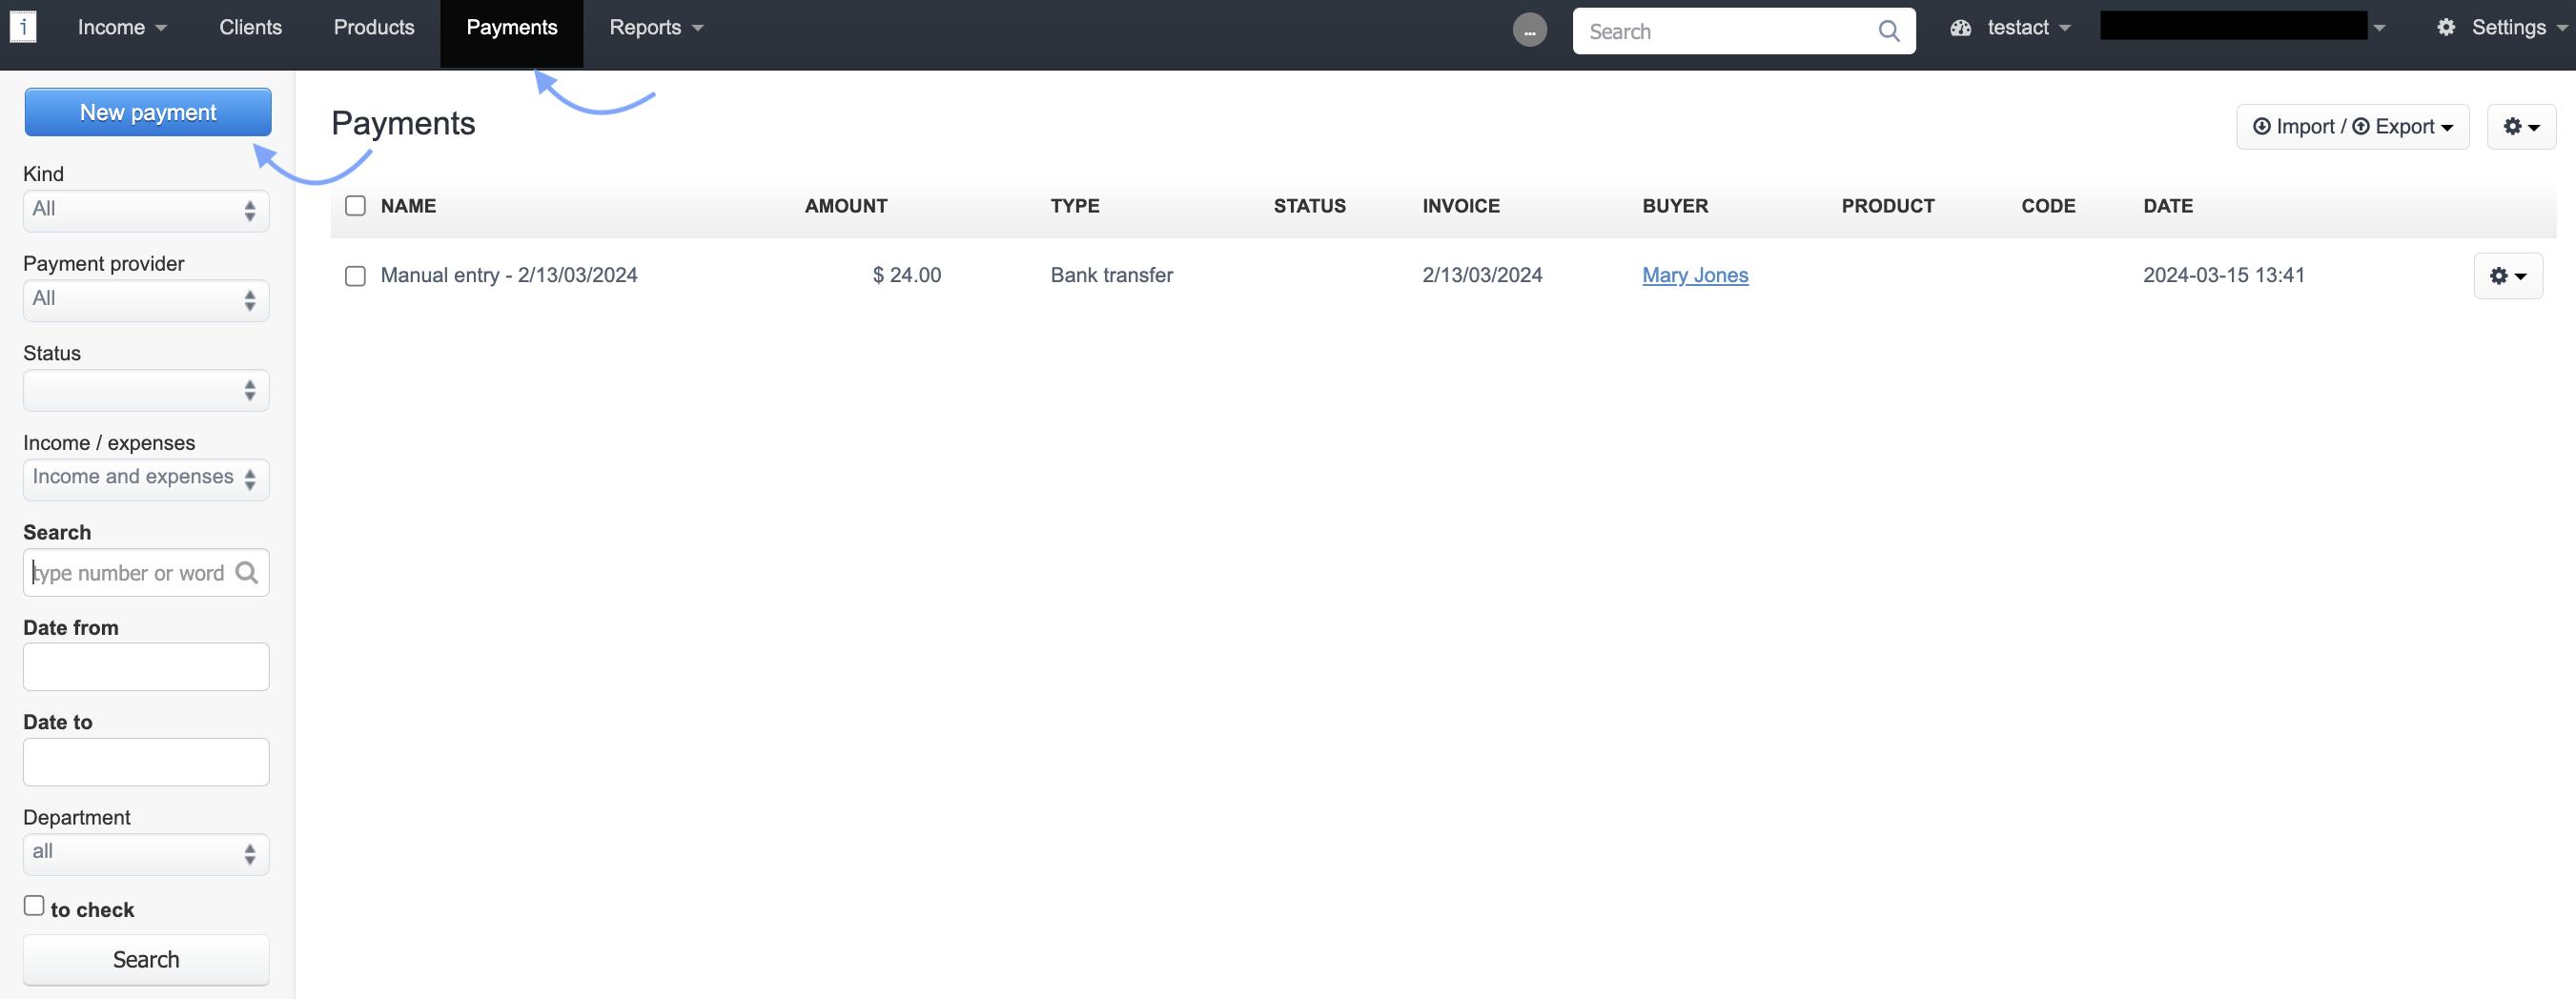
3. Complete the required fields in the payment adding form
4. Use the Save and match button to manually link the payment with the appropriate invoice after creating it.
In the Payments tab, all payments added to the account are visible. This includes those added manually, created from autopayments, and imported from files downloaded from the bank.
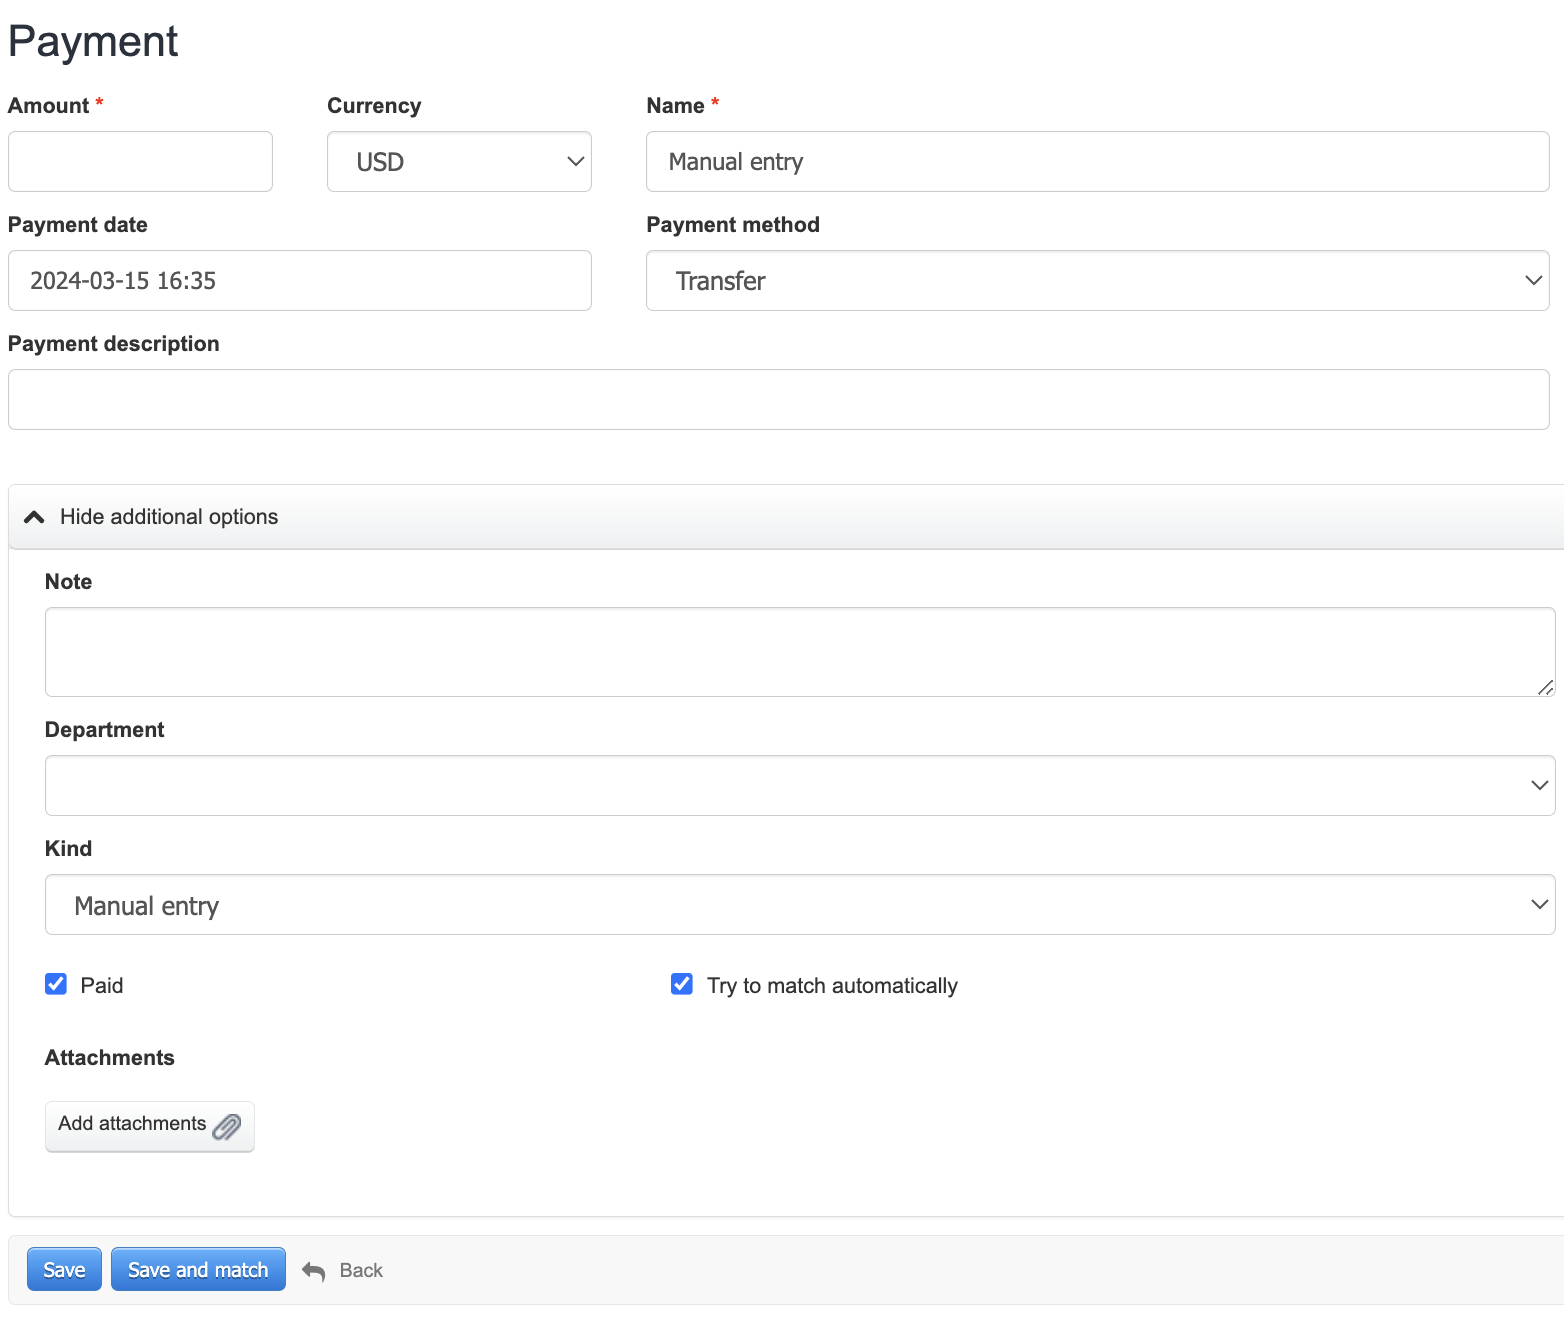
Fields in the payment creation form
When adding a payment, you must fill in the required fields, marked with a red asterisk (*).
The required fields are:
- Amount: Enter the value of the payment received. If adding a payment from the invoice level, the system will automatically fill in this field with the value from the document.
- Name: Enter the invoice number related to the payment. This allows the system to attempt to automatically link the payment to the document. If automatic linking fails, you can manually link the payment. When adding a payment from the invoice level, the Name field will also display the number of the associated document.
Other fields include:
- Currency: By default, the main account currency is displayed here. You can manually change it using the dropdown list.
- Payment date: By default, the system will enter the date and time of adding the payment. You can manually change it to the date when you actually received the payment.
- Payment method: Click on the field to choose from the available payment methods.
- Payment Description: Add a detailed description for the payment in this field.
- Note: You can include additional notes in this field.
- Department: Select the department for which the document related to the payment was issued. For automatic or manually added payments from the invoice level, this field will be filled in by the system.
- Kind: Indicates whether the payment was added manually or is related to an online payment.
- Paid checkbox: By default, it is checked when creating a payment. If you are adding a payment to the account but have not yet received the funds, uncheck it, and the payment will be marked in red on the list.
- Try to match automatically checkbox: By default, it is active. If an invoice number is provided in the Name field, the system will try to match the payment automatically.
- Add attachments button: You can also add attachments to the payment, such as payment confirmations provided by the client.