Did you know that InvoiceOcean allows for assigning your own invoice numbering? You can choose from the available formats or create your own unique numbering scheme with just a few clicks.
If you want to check how documents are numbered on your account, follow these steps:
- Log in to your profile on InvoiceOcean.com
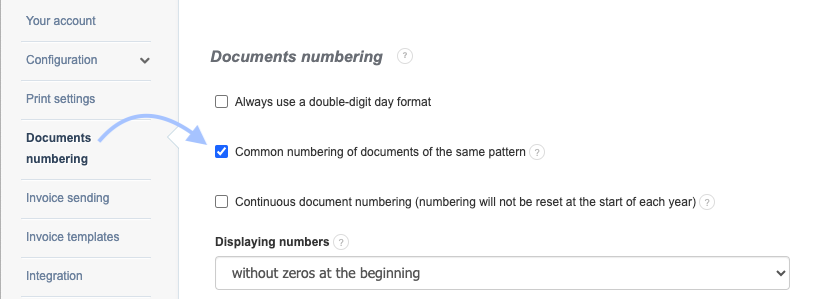
- In the upper right corner, click on Settings and choose Account Settings.
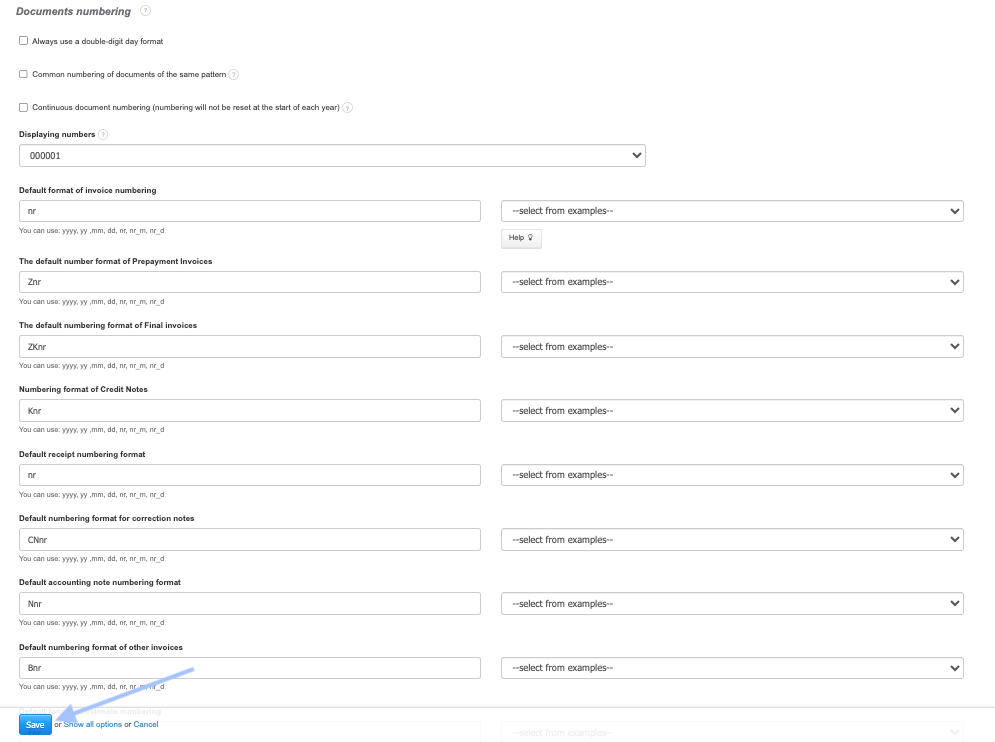
- From the menu on the left, select Documents numbering - here you will see the current default numbering format for various types of documents.
How to change the invoice numbering format?
For each document, you can choose a sample format. If none of them suits you or if you are starting to use InvoiceOcean during an ongoing annual settlement cycle and want to maintain continuity in numbering, set up your current way of describing documents using the following variable parameters for dates and numbering: yyyy, yy, mm, dd, nr, nr-m, nr-d.
Then confirm the changes by clicking Save.
- nr: consecutive number counted from the beginning of the year, e.g., 1, 2, etc.
- nr-m: consecutive number counted from the beginning of the month.
- nr-d: consecutive number counted within the specific day.
- yyyy: four-digit year, e.g., 2023.
- yy: two-digit year, e.g., 23.
- mm: month.
- dd: day.
After changing the numbering format, the system sets the document numbering from the beginning, starting with number 1.
If you are starting to use InvoiceOcean during the fiscal year or migrating from another program and want to continue the numbering and formatting, you can manually change the number when issuing the first invoice. For example, if you want the numbering to start from 15, manually enter 15/10/2023 in the Invoice Number field. Then the system will automatically continue the numbering, and the next invoice will be numbered 16 (16/10/2023).
Now, every newly issued document will have the format that suits you. You no longer need to worry about saving the numbering on each invoice – it will be generated automatically in the order of the invoices you issue. If you want to change something on a per-invoice basis, that's not a problem. You can do it from the invoice editing interface. However, remember that despite manual changes, the system will continue the previously set numbering.
Similarly, proceed with the numbering format of other documents, including credit notes, proforma invoices, or various types of warehouse documents.
Invoice Issuance Date and Numbering
Note! Remember that when issuing invoices at the turn of the month, for example, from the night of August 31 to September 1, the invoice will be numbered according to the current date. Perhaps when issuing an invoice at night, you want it to be still counted for August, so you assign it a number like 31/08/2023. The program, when issuing subsequent documents in September, will suggest the last number from the date 01/09/2022 and automatically start numbering the next documents, giving them higher numbers, such as 32, 33, and so on... (32/09/2023, 33/09/2023..., 40/09/2023). This will result in a gap in numbering, so it's essential to remember to also change the issuance date of the document.
This will minimize the risk of error and save you time since you won't have to edit the number on each invoice. Remember here the three variants:
Variant 1 → Department number 1 has a different numbering than department number 2. In this case, individual documents will maintain numbering per department, for example,
Department number 1: Department number 2:
Invoice 1/2023. Invoice 1/8/2023Receipt 2/2023 Receipt 2/8/2023
Correction note 3/2023 Correction note 3/8/2023
Prepayment 4/2023 Prepayment 4/8/2023
Variant 2 → Numbering occurs per document regardless of the department, for example,
Department number 1: Department number 2:
Invoice 1/2023 Invoice 2/2023Receipt R 1/2023 Receipt R 2/2023
Correction note CN 1/2023 Correction note CN 2/2023
Prepayment Z1/2023 Prepayment Z2/2023
Variant 3 → Numbering according to the order of issuing documents, for example,
Department number 1: Department number 2:
Receipt 2/2023 Invoice 6/2023
Correction note 3/2023 Final invoice 7/2023
Prepayment 5/2023 Correction note 8/2023
Continuous Document Numbering
If you need to, you can