Hello,
We are very excited that you are starting your adventure with electronic invoicing. In this article, we want to introduce you to the simplest features of the system and how to configure your account so that you can quickly start working with the system.
Create an account in the system (if you don’t already have one)
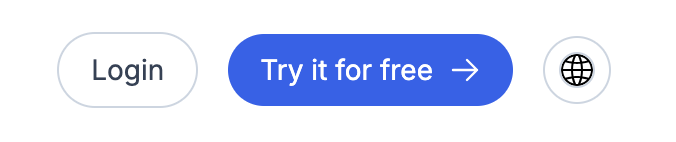
1. To create an account in InvoiceOcean, click on the Try it for free button visible on the https://invoiceocean.com/ page. Make sure that the page address starts with ‘https’, which will provide you with a secure connection.
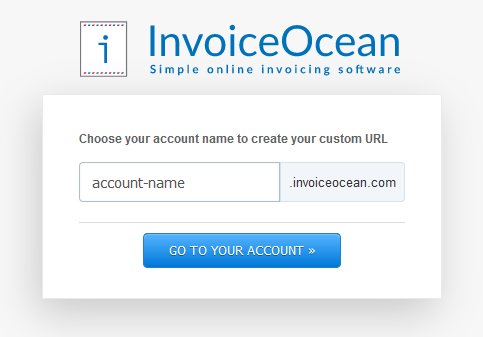
Enter your email address and password and click Register. There's one more step before you enter the program, where you will create your account name.
Verify your e-mail address
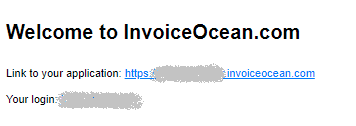
After creating an account in the system, a message with an activation link to your account and the login of your choice will be automatically sent to your email address. We encourage you to verify your email address at the beginning of your work with the system. Verifying your email address will ensure the security of the data you will store in your account.
Enter your company's data
After saving your company's data, you will always be able to edit it in the Company / department tab.
Activate the necessary income documents
To see a full list of documents you can use, go to Settings > Account settings. In the middle of the page, you will see the section Additional documents to issue.
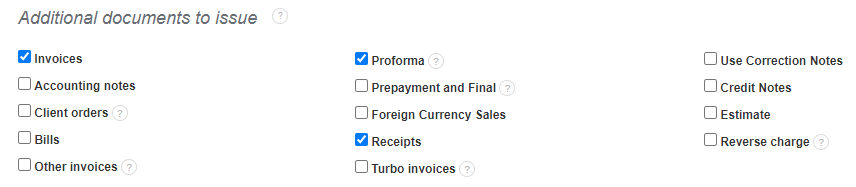
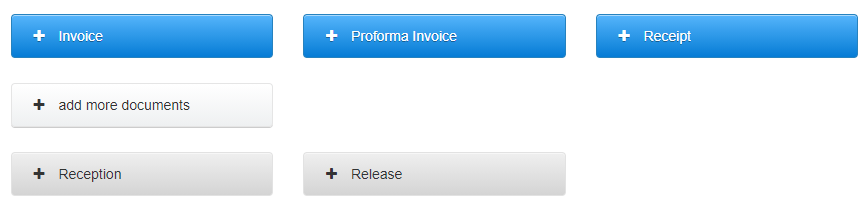
You will now have access to the documents you select from the dashboard:
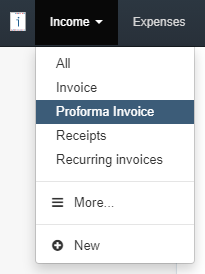
and from the main menu:
Activate expenses documents
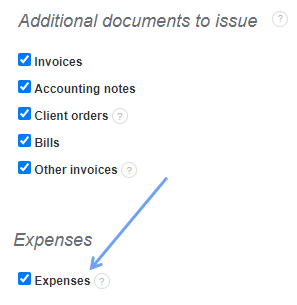
4. InvoiceOcean includes not only income documents, but also the costs of your company. By entering the entire documentation into the system, you will be able to see the full financial situation of your company in detailed reports.
If you do not see the Expenses tab on the menu bar, go to Settings > Account settings > Expenses and activate the Expenses checkbox.

Set the document numbering format
5. If you use your own way of numbering invoices, before you issue your first invoice, you can define your document numbering in Settings > Account Settings > Documents numbering. The default format suggested by InvoiceOcean is nr-m/mm/yyyy, which is the next document number in a given month / month / year. You can change this format using the following variables: yyyy, yy, mm, dd, nr, nr-m, nr-d.
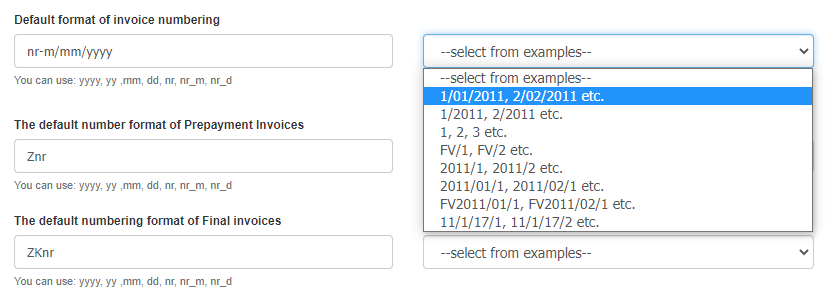
When selecting the numbering format, you can choose one of the proposed numbering formats, or create your own format. You can also enter a certain constant for the numbering format that specifies, for example, the department of your company. If you want invoices to be numbered in the format FV/UK/1/12/2023, use the following format: FV/UK/nr-m/mm/yyyy.
See how to enter a separate numbering for each department of your company
If you start using InvoiceOcean in the middle of the year and you want the numbering to continue as it has been carried out so far, manually assign the appropriate invoice number when issuing the first document in the system, for example 7:
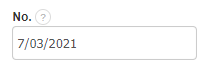
After saving the document, when issuing the next invoice, the system will propose the number 8/03/2021 as the next one.
Documents with or without TAX
6. By default, InvoiceOcean proposes entering 20% VAT on documents, however, you can change both the tax name, tax rate, as well as completely disable it on the document.
Changing the name and rate of tax:
To change the tax name, go to Settings > Account settings > Configuration > Invoices and documents and define the name and/or tax rate you’ll need. In the example, we show the Spanish IVA tax of 21%:

Deactivating the VAT tax column on documents:
If you don’t show any tax rate on your documents, you can turn it off by going to Settings > Account settings, and then, in the middle of the screen, below the section Additional documents to issue, you will find Documents with or without tax. Uncheck the checkbox Include VAT tax on invoices and save the changes.

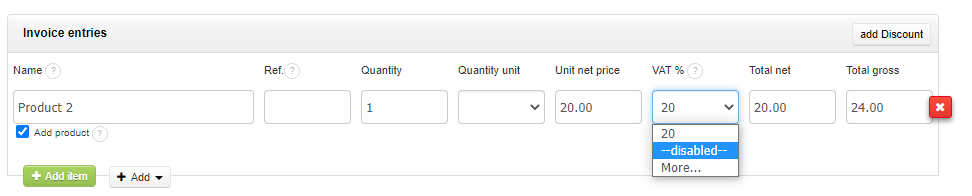
You can also disable the VAT column each time you issue a document by selecting –disabled-- for a given column:
Complete the product and client database (optional)
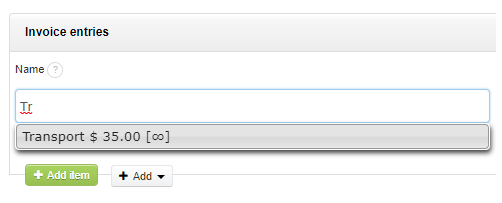
7. You don’t have to complete the products and client databases to start invoicing in InvoiceOcean. When issuing each document (after it is saved), the data you enter will be remembered in the system, and after switching to the Products and Clients tab you will see the list of data created. The data saved in the product and clients lists will be automatically suggested when issuing subsequent documents. This option speeds up the issuance of documents and ensures that you won't make mistakes by manually entering the data each time.
If you want to use ready-made product and client databases, you can enter data to the system before you start issuing invoices. To add a client, go to the Clients > Add new client tab, and in order to add a product, go to Warehouse/Products > Products > Add new product. Your data and your client's are safe in InvoiceOcean, and you can be sure that they are processed in accordance with the requirements of GDPR.
See how to distinguish the product from a service
See how to import client and product data files
8. Now you are ready to issue an invoice in InvoiceOcean. See how easy it is :)