A custom invoice printing template allows you to change the design and appearance of documents generated by the system. This option is useful for those who want to adapt invoices to their company’s visual identity. After pasting the HTML and CSS code, the template will be ready to use both for new and existing documents.
How to open the invoice template editor?
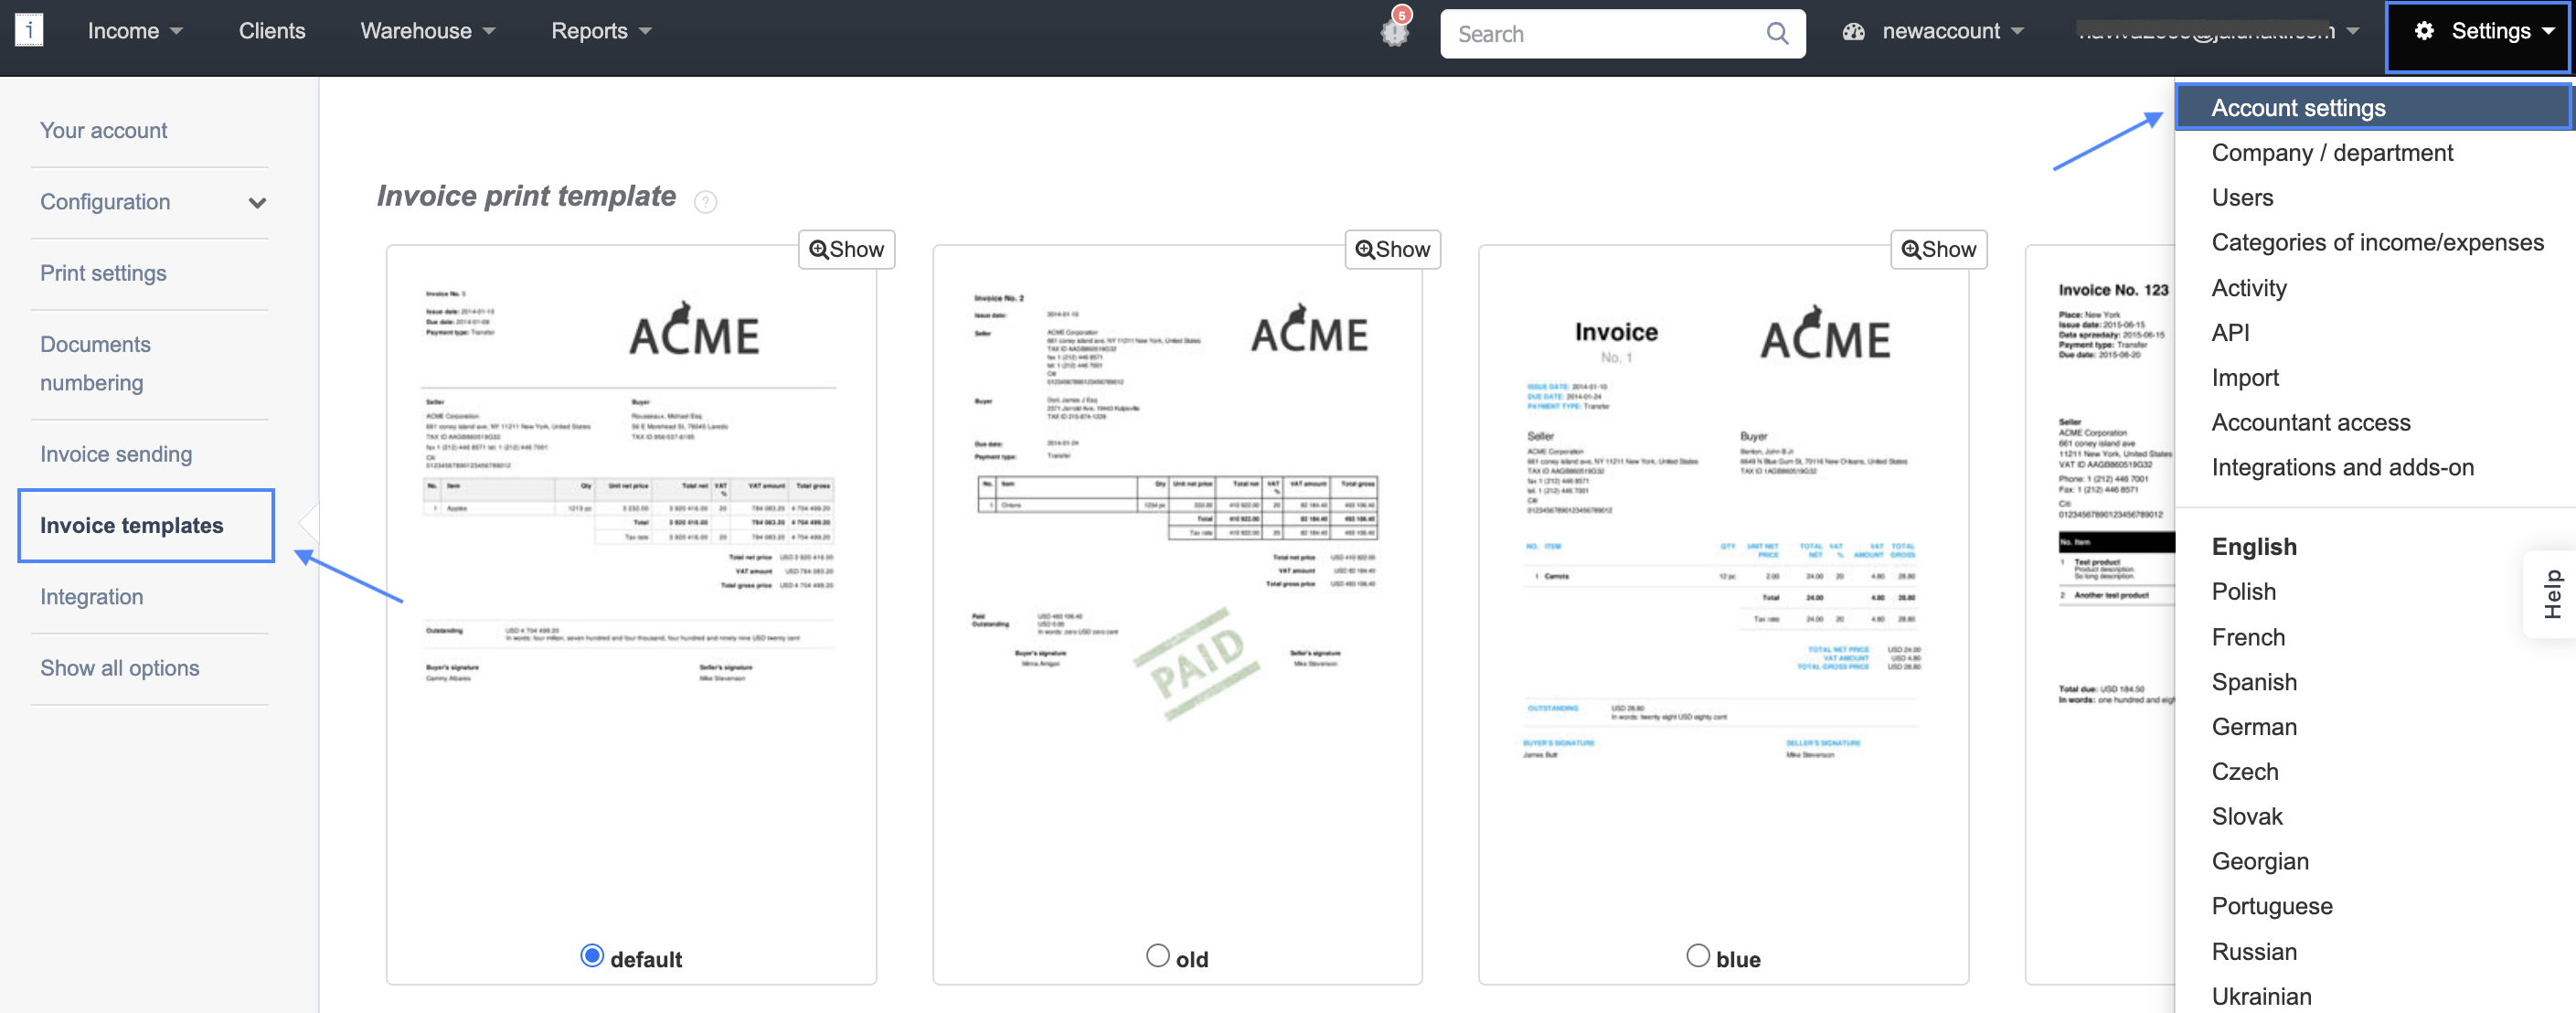
To create a custom invoice template based on the system templates:
-
Go to Settings > Account settings > Invoice templates.
-
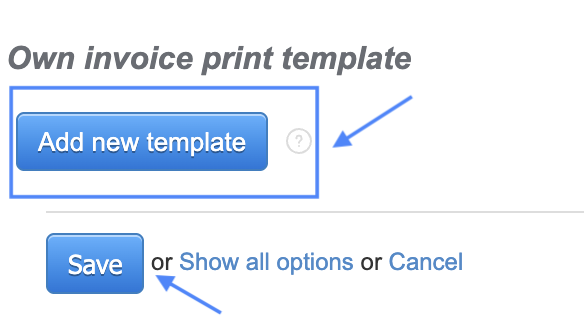
Scroll to the bottom of the page, to the Custom invoice template section, and click the Add new template button.
Where can you download the template files from GitHub?
The system uses templates in Handlebars (HBS) format. Several system templates are available, including DEFAULT (basic design) and BLUE (a variant with a touch of blue). Download the relevant files and copy their contents:
- download the HTML file for the DEFAULT template: default.hbs.html — copy all of its contents;
- download the CSS file for the DEFAULT template: default.css — copy all of its contents;
- if you want to use the BLUE variant instead of DEFAULT, download the CSS file: blue.css — use it instead of the DEFAULT CSS file in step 2.
You can also find all example templates in the GitHub repository.
How to paste the HTML and CSS template code?
-
In the template editor, paste the copied HTML code into the upper field (HTML field). You can also use the Insert example template option.
-
Paste the copied CSS code into the lower field (CSS field).
- Make your modifications to the code.
- Click Save to confirm the changes.
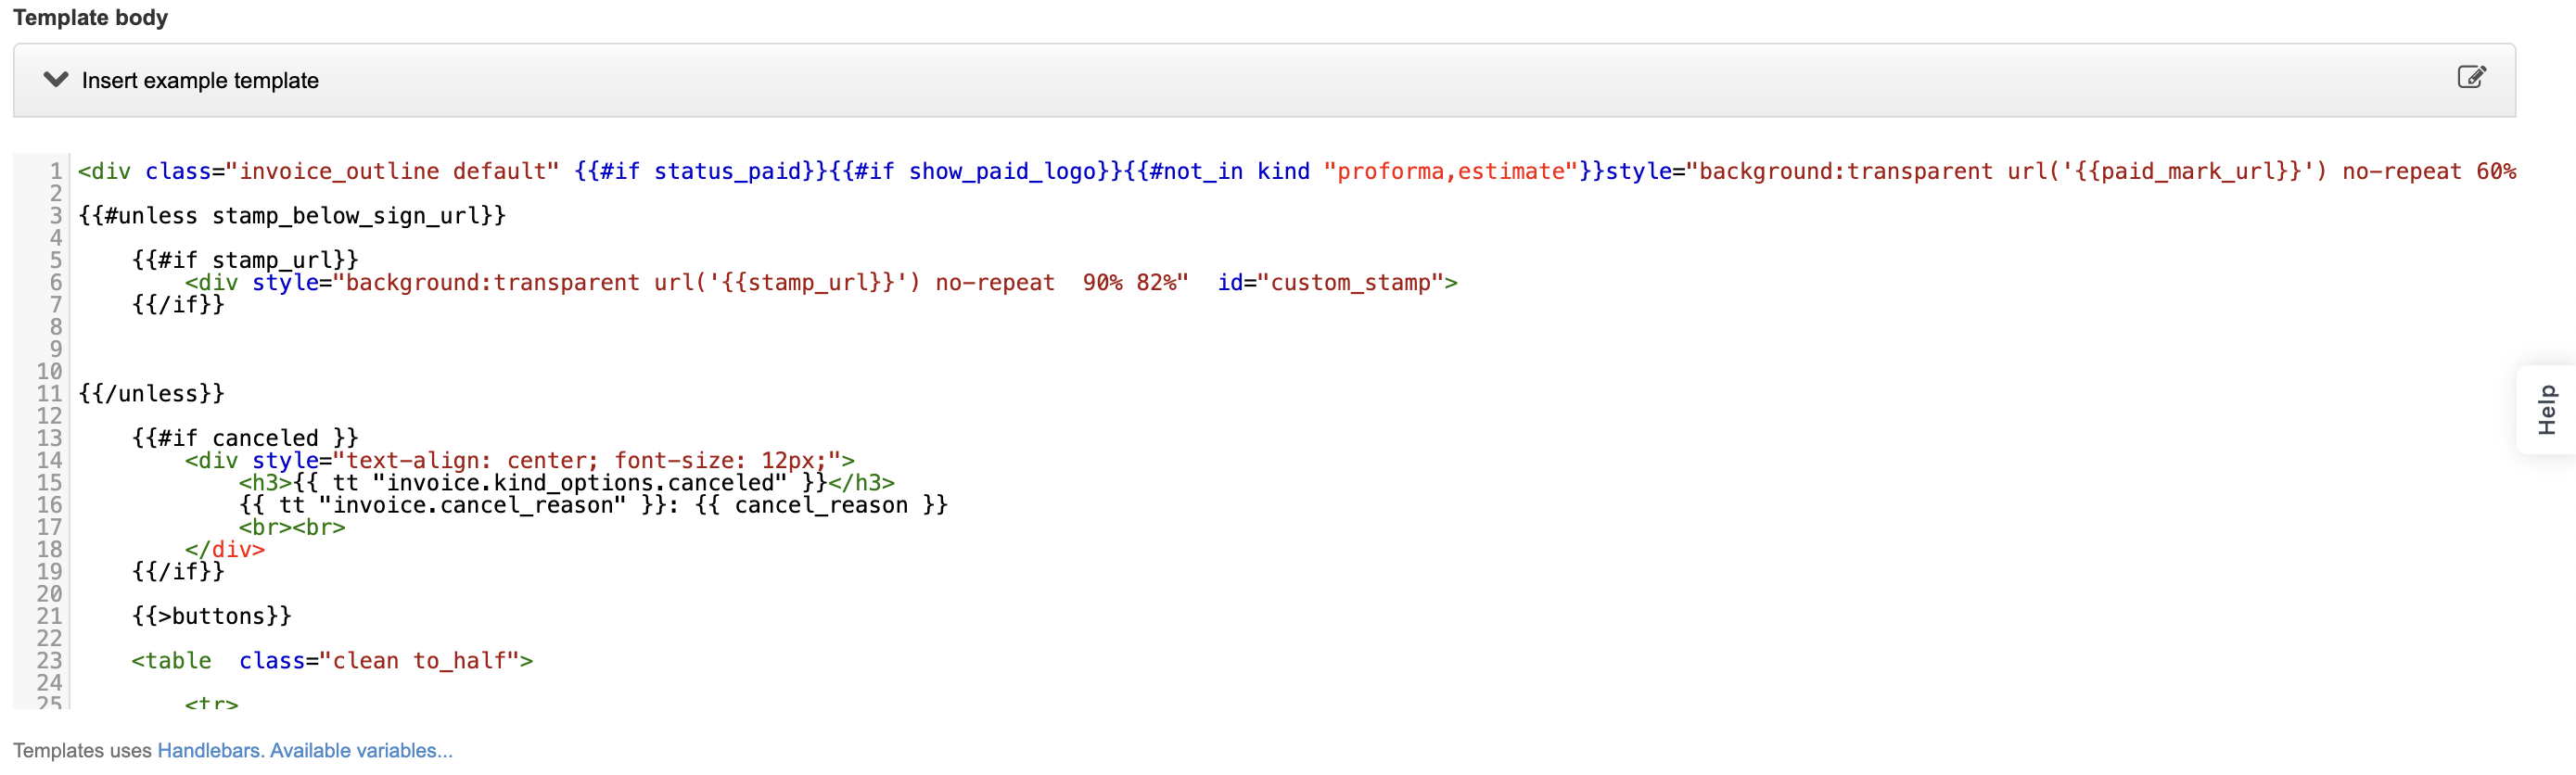
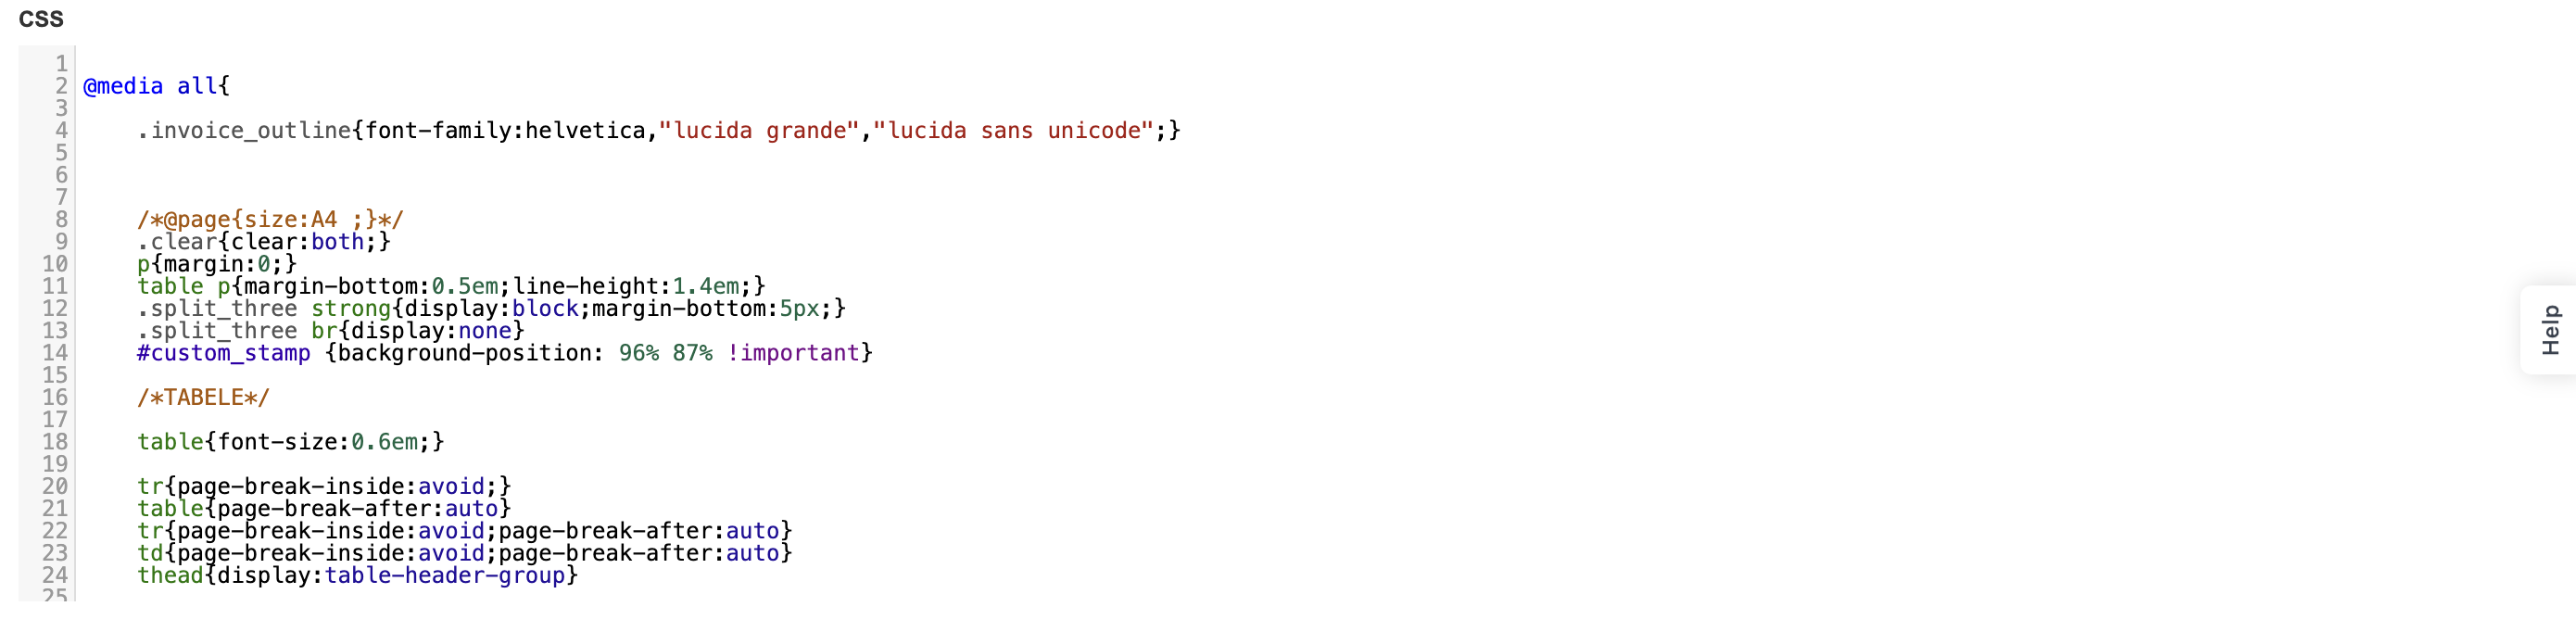
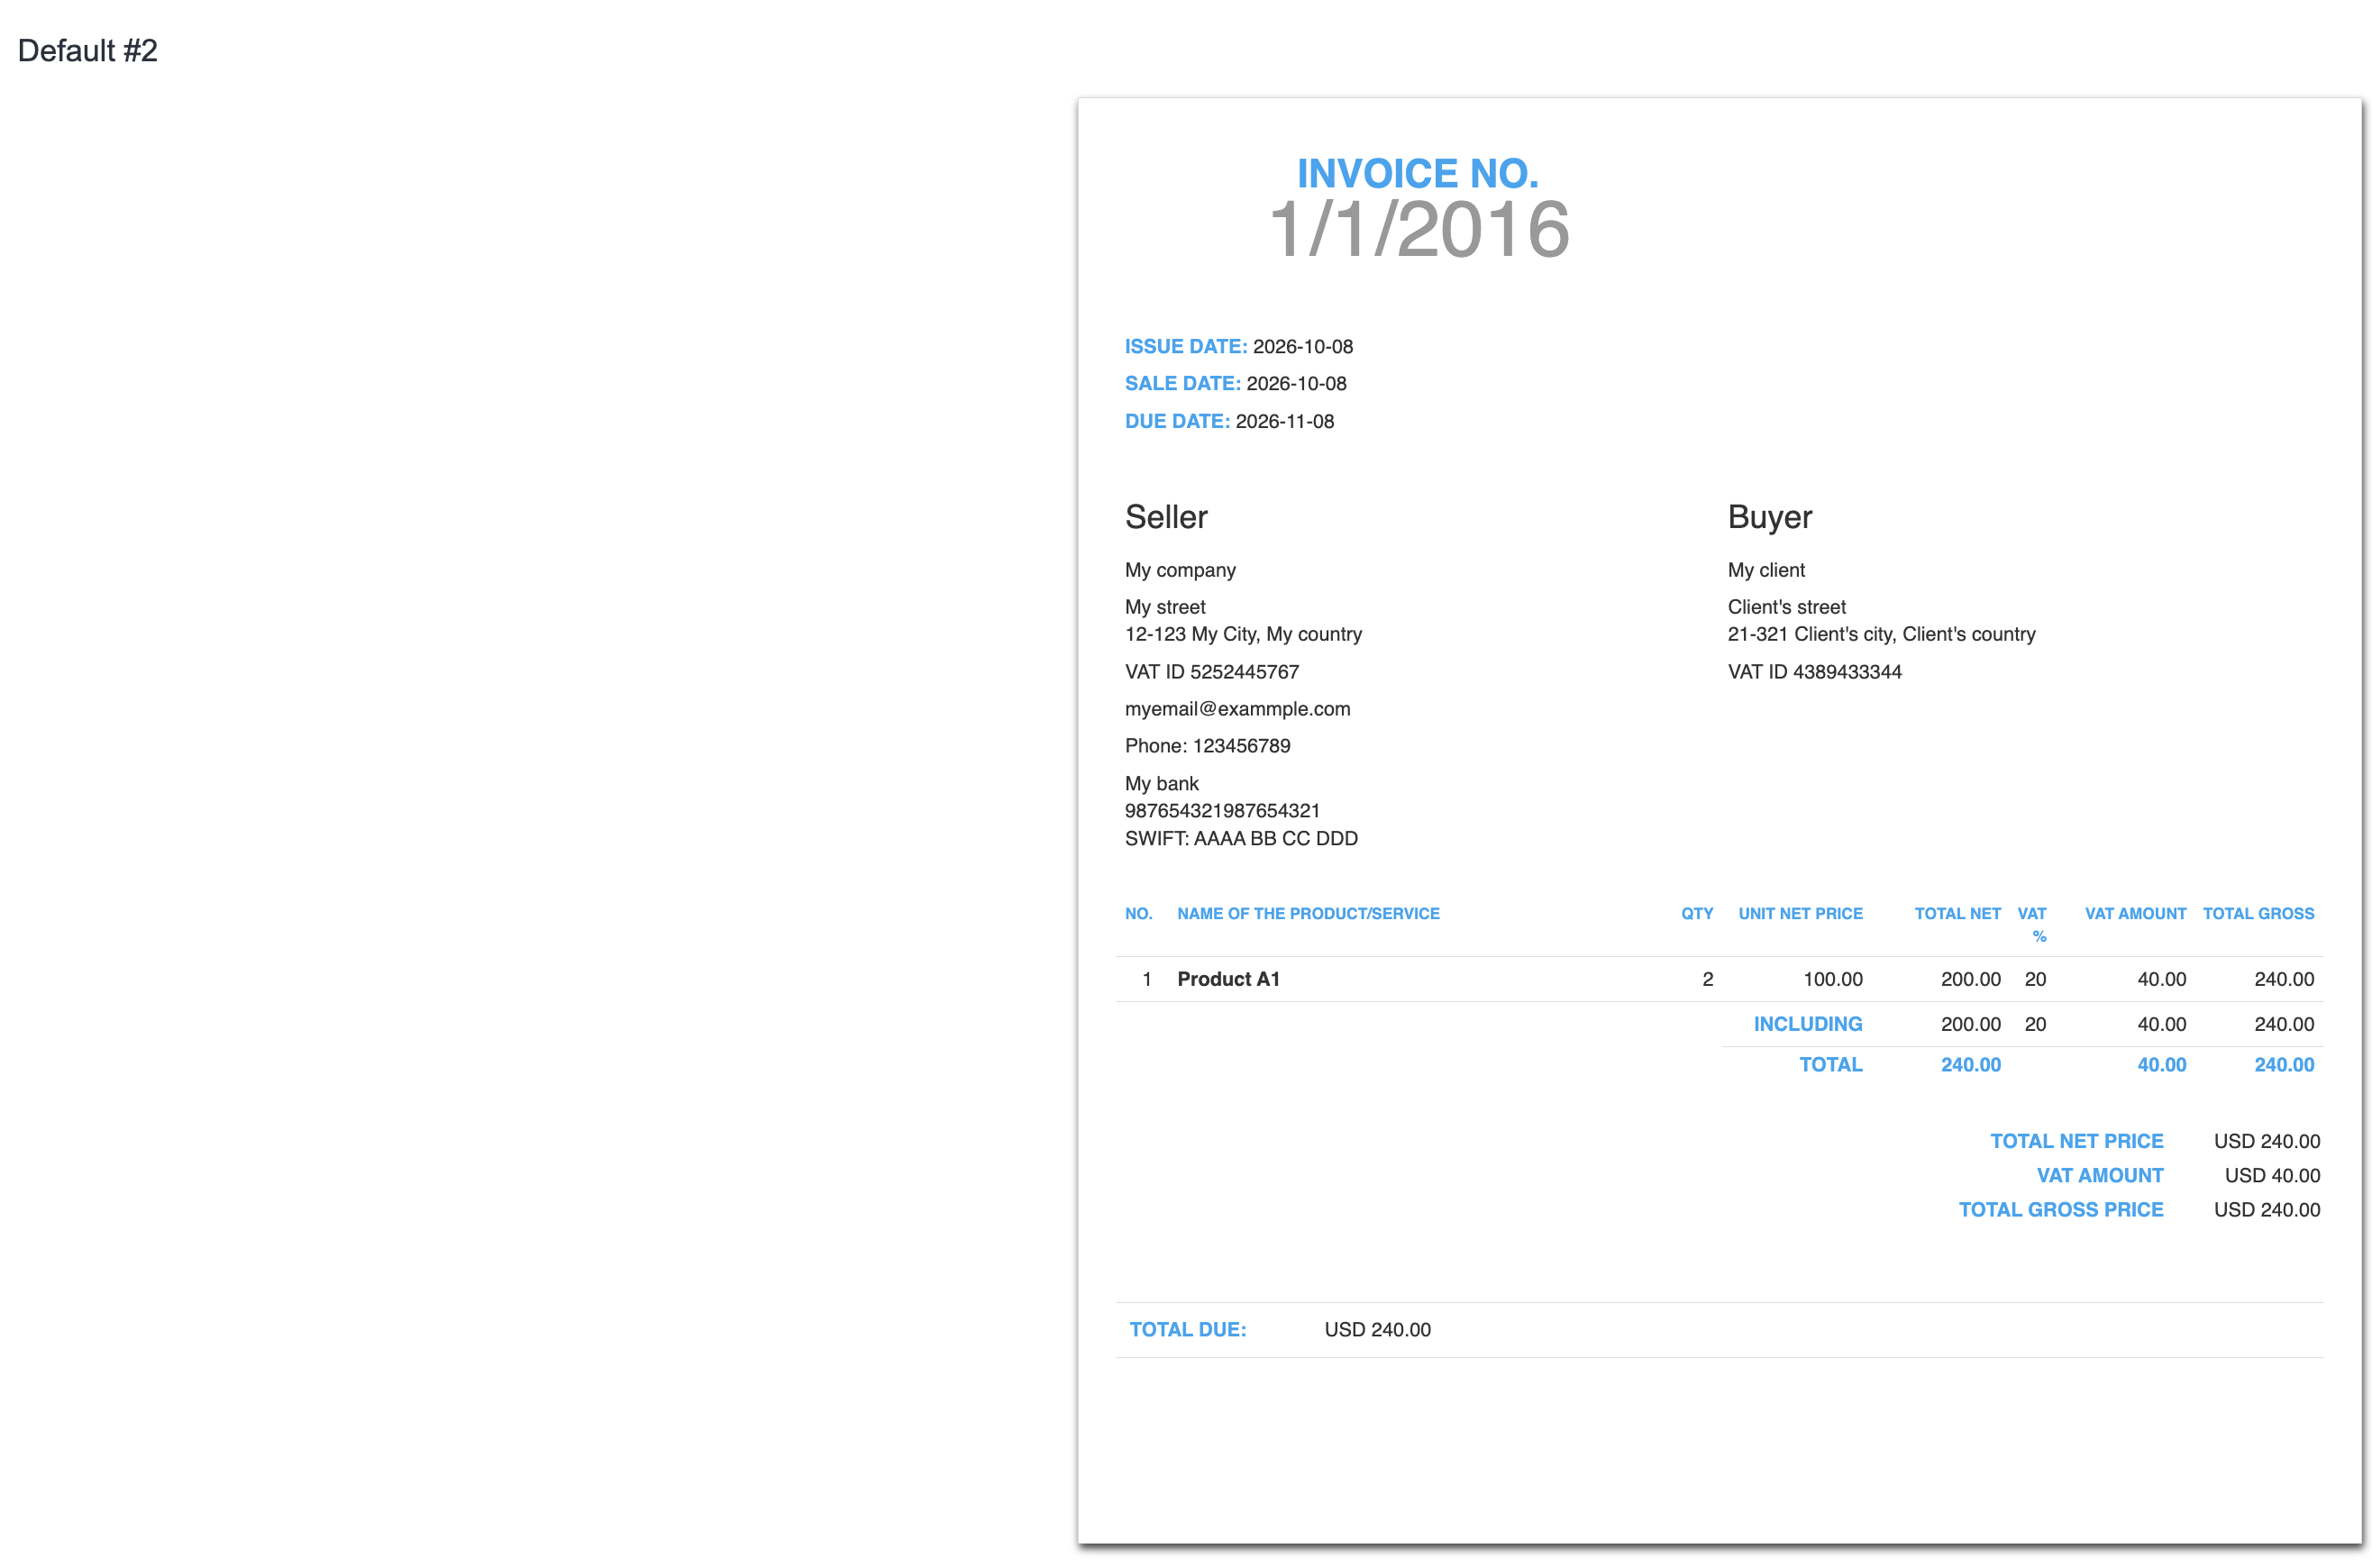
The image shown below shows the editor with the HTML (upper) and CSS (lower) fields highlighted:
How to change the DEFAULT template to look like the BLUE template?
The BLUE template differs from the DEFAULT template in its color scheme and requires an additional change to the HTML code: moving a specific element to another location. Below is the element that needs to be moved.
HTML responsible for displaying the document name and number before the change.

HTML after the change.
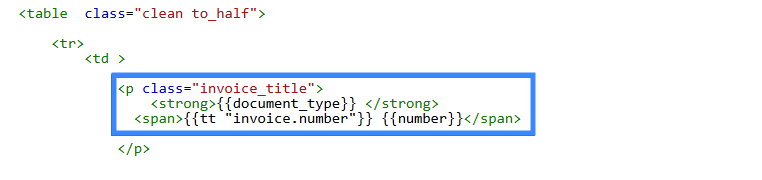
Download the blue.css file and copy its contents.
- In the template editor, paste the blue.css code into the lower field (CSS field) — it will replace the default CSS.
- In the upper field (HTML field), move the highlighted element to the location indicated in the image above.
- Click Save.
What should you know about how templates work?
A template created this way is a new, independent template, even if it is based on one of the system templates.
Previously issued documents retain the template they were created with. Changing the default template in the account or department settings affects only new documents. The template of an archived document will change only if it is manually selected while editing that document.